Table of Contents
1. Introduction
The proper wiring of a 24V battery for an electric scooter is crucial for ensuring both the performance and safety of the vehicle. As electric scooters become increasingly popular for their convenience and eco-friendliness, understanding the intricacies of their power systems is essential for enthusiasts and technicians alike. This paper provides a comprehensive guide to wiring a 24V battery system, highlighting the importance of correct connections and the components involved.

Importance of Proper Wiring
Proper wiring is fundamental to the efficient operation of an electric scooter. Incorrect wiring can lead to reduced performance, battery damage, or even hazardous situations such as electrical fires. Ensuring that the battery is correctly wired not only maximizes the scooter's performance but also extends the lifespan of its components.
Overview of 24V Battery Systems
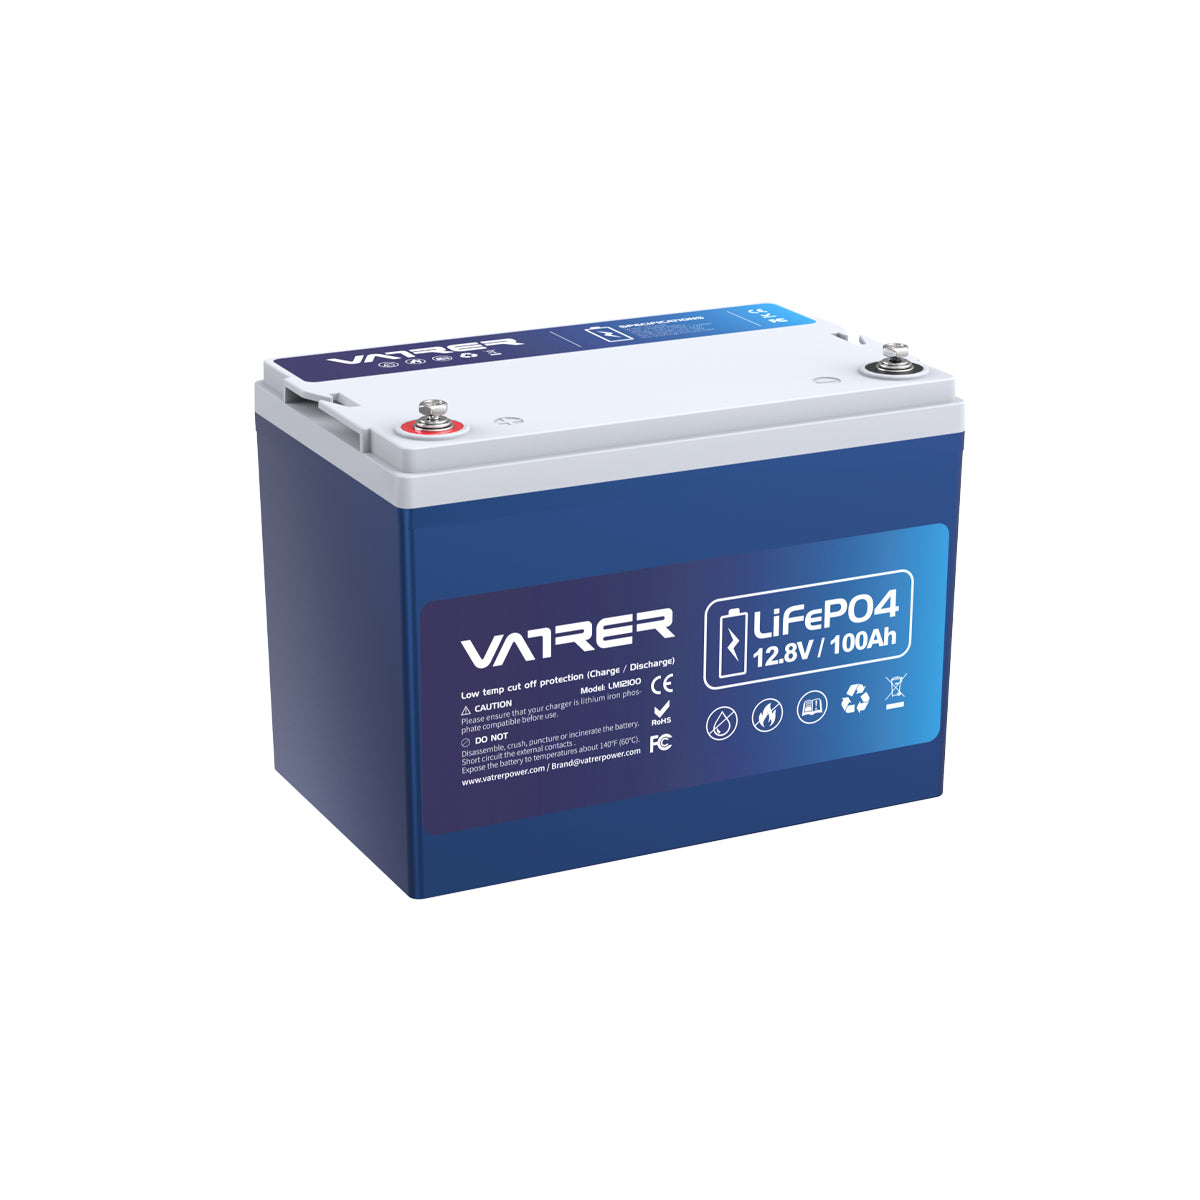
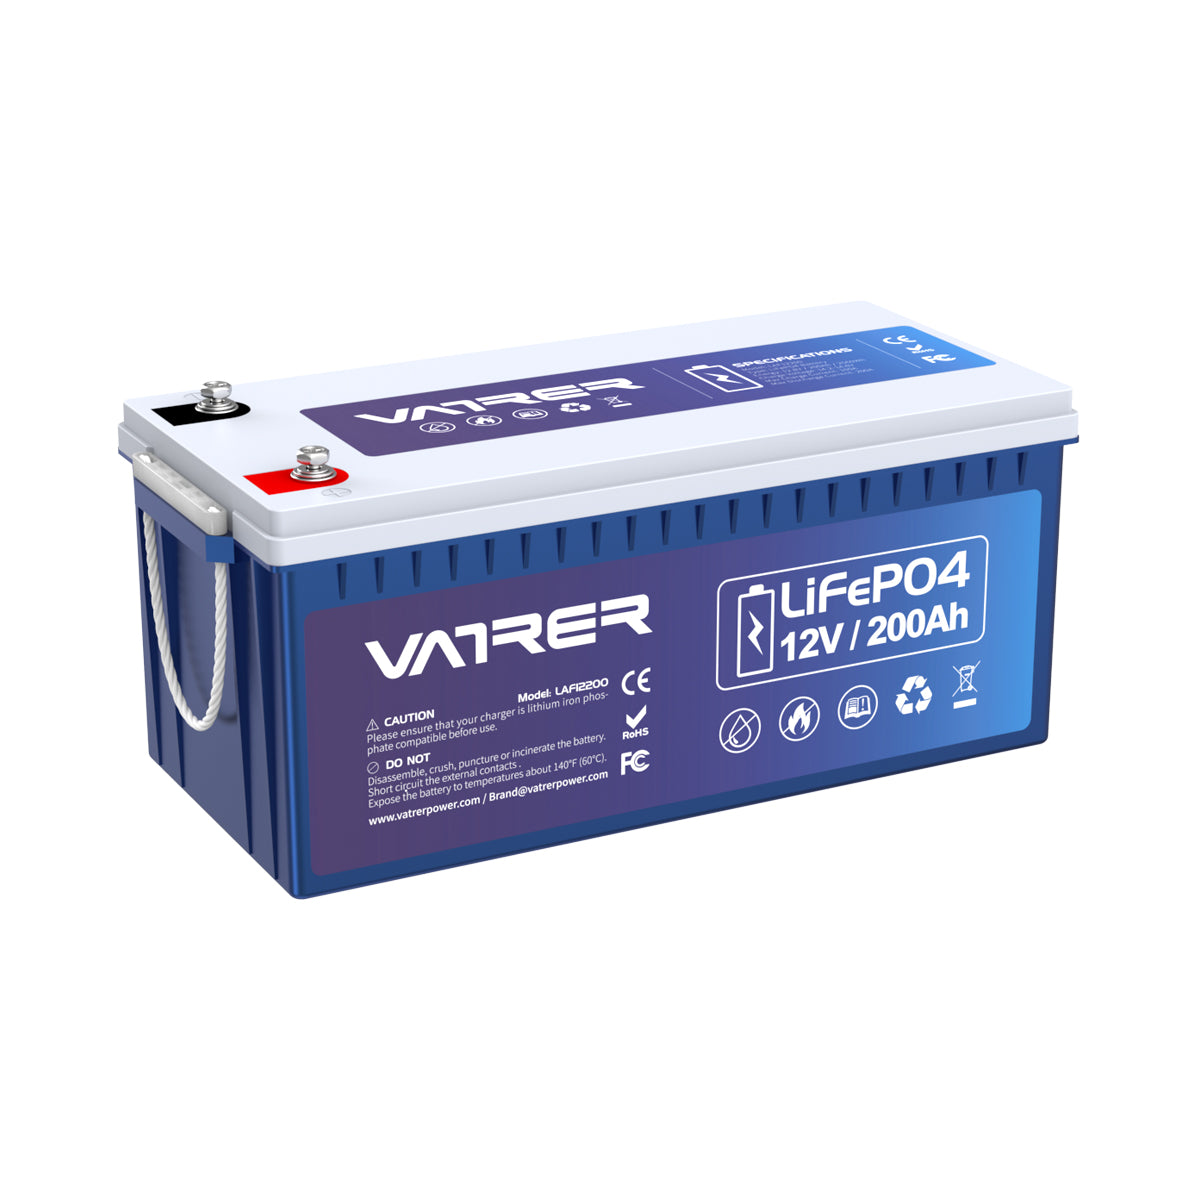
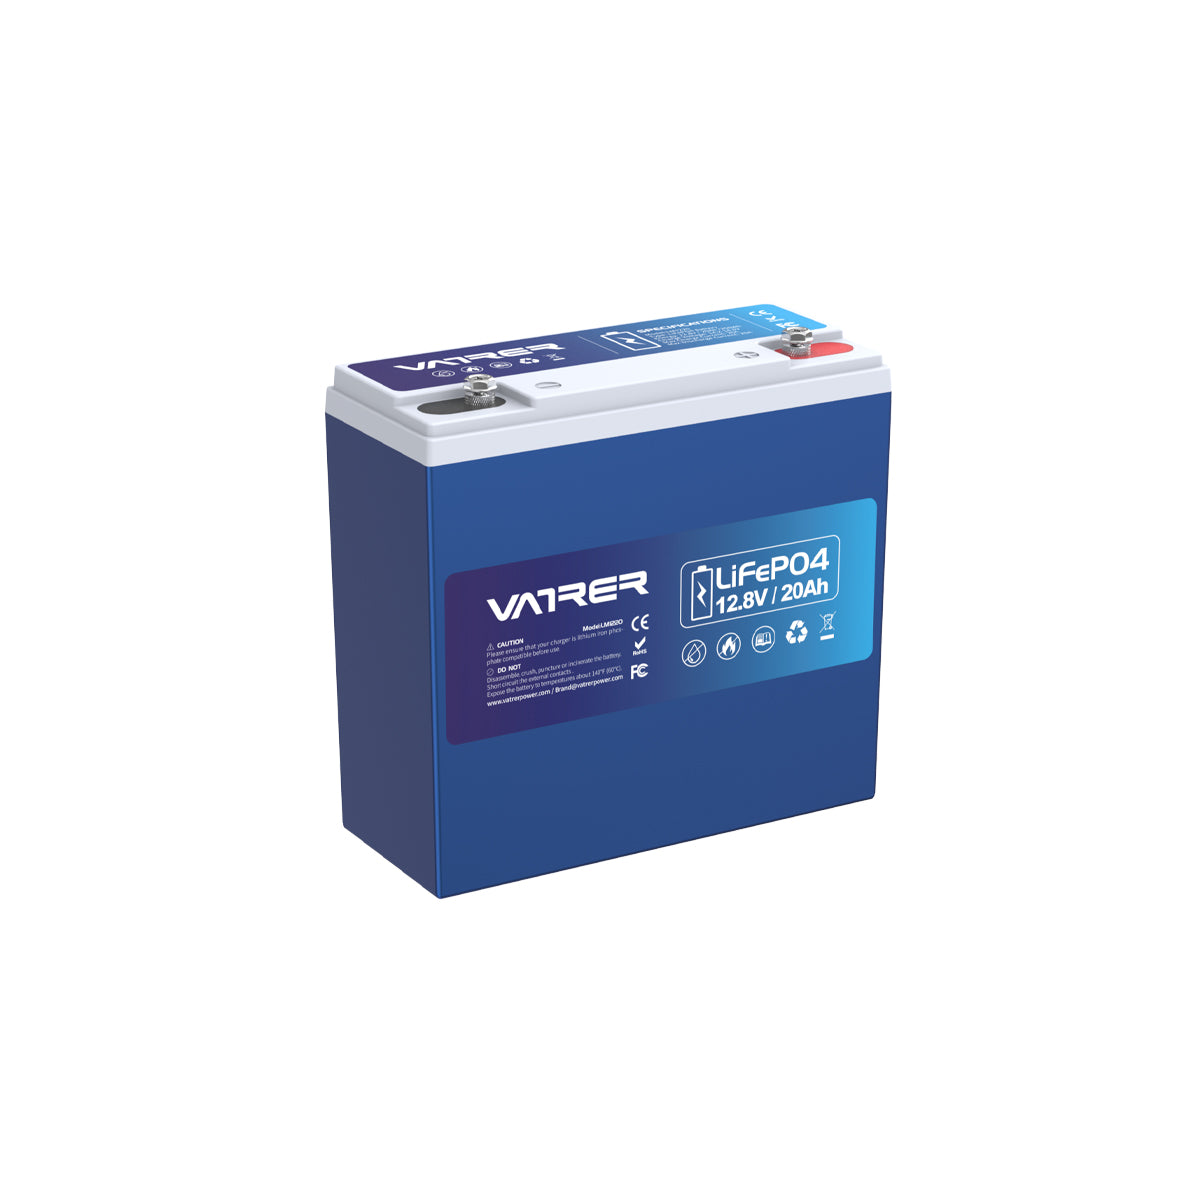
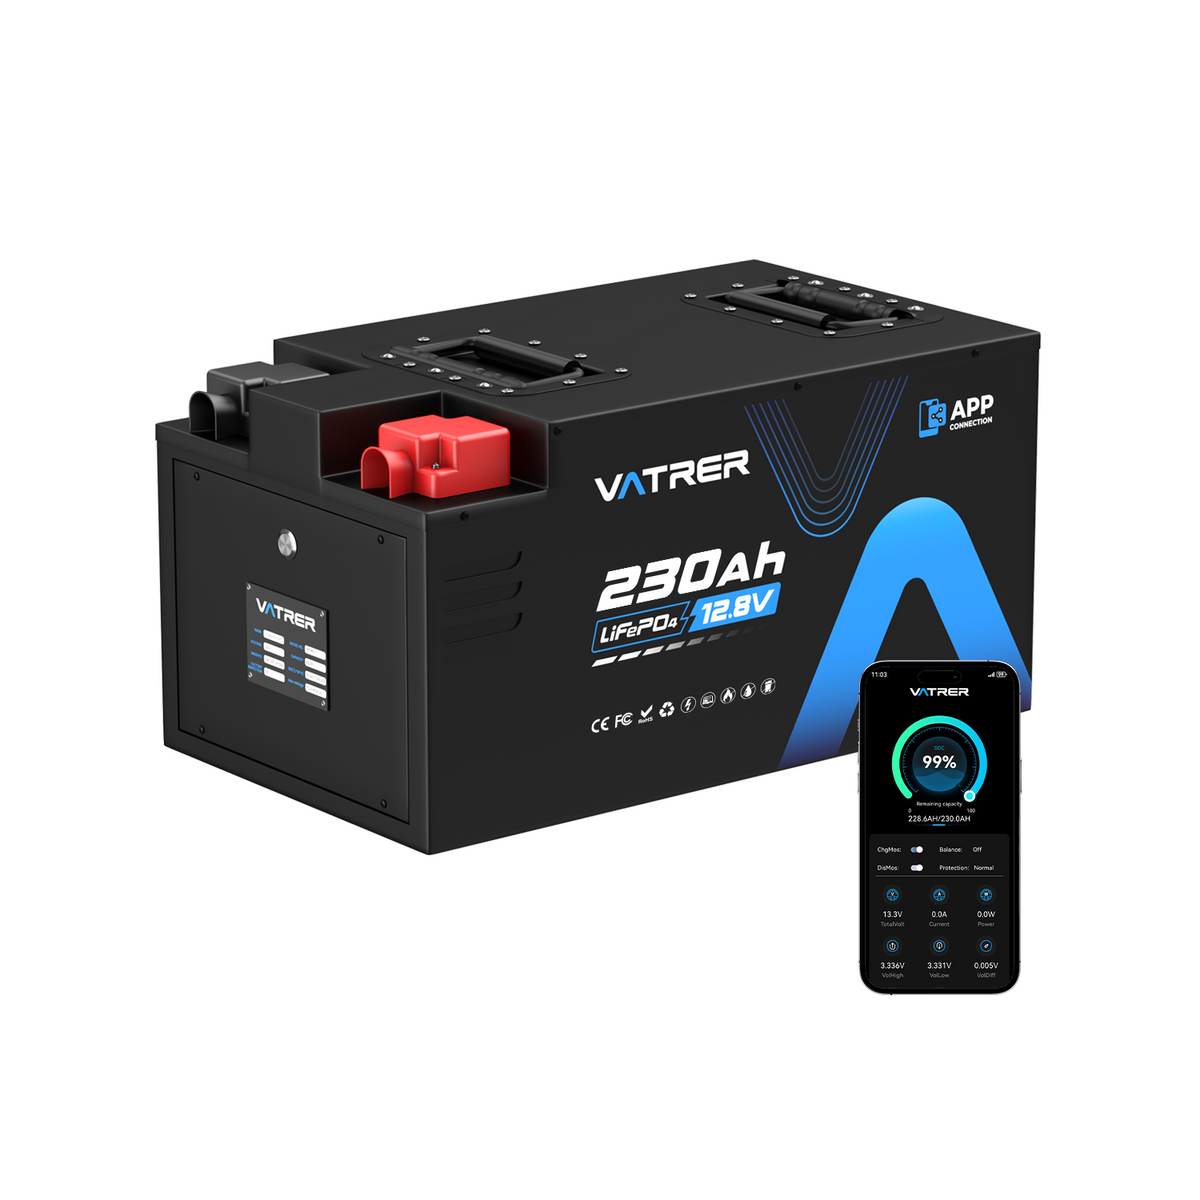
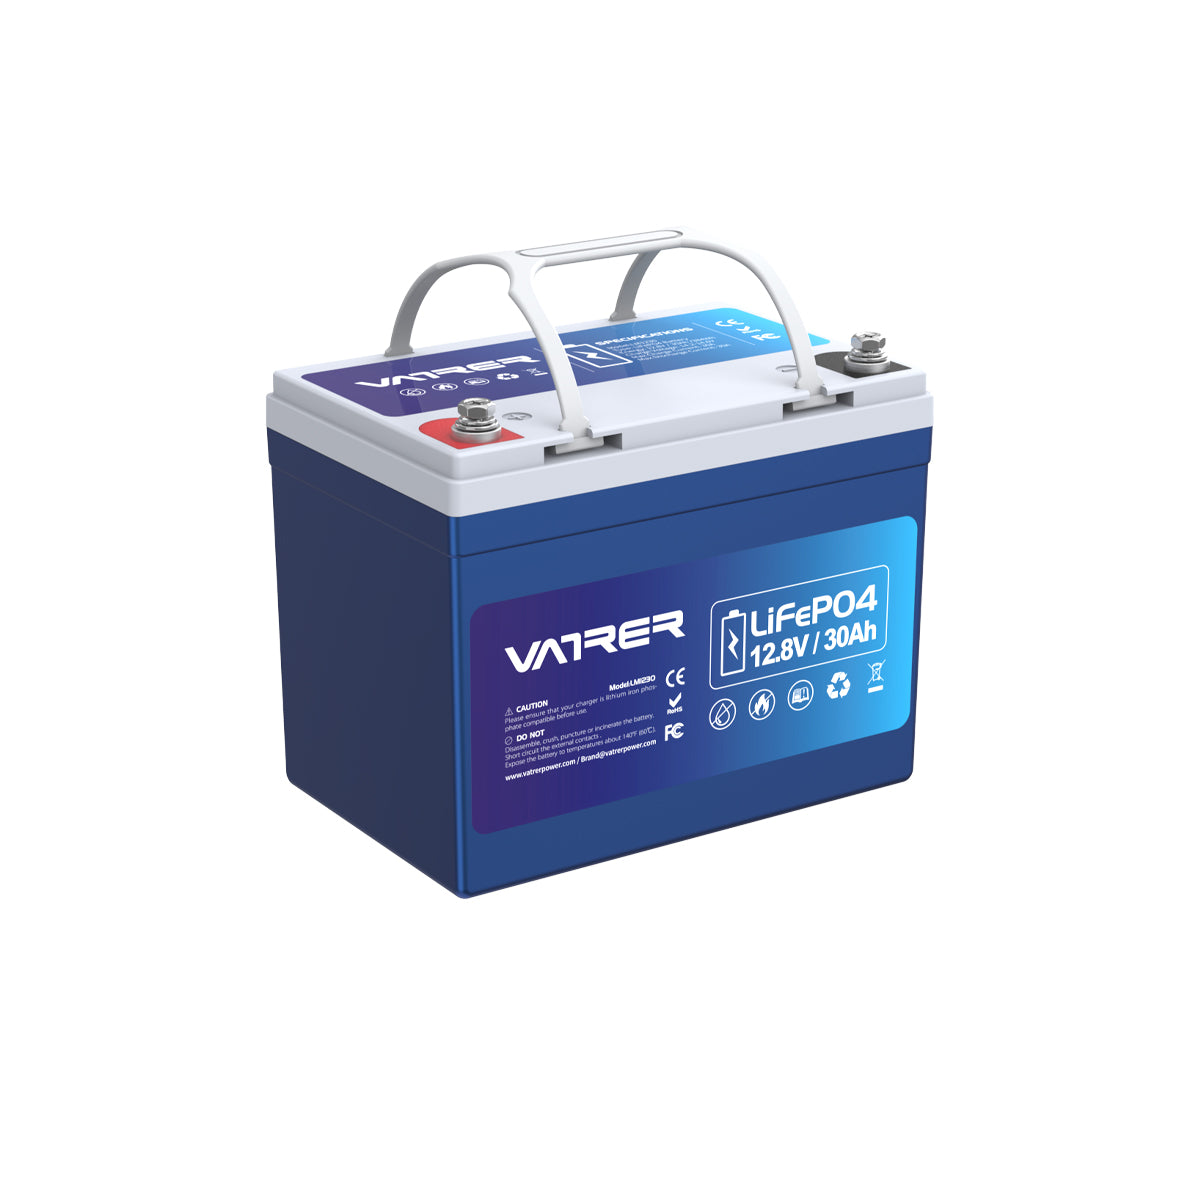
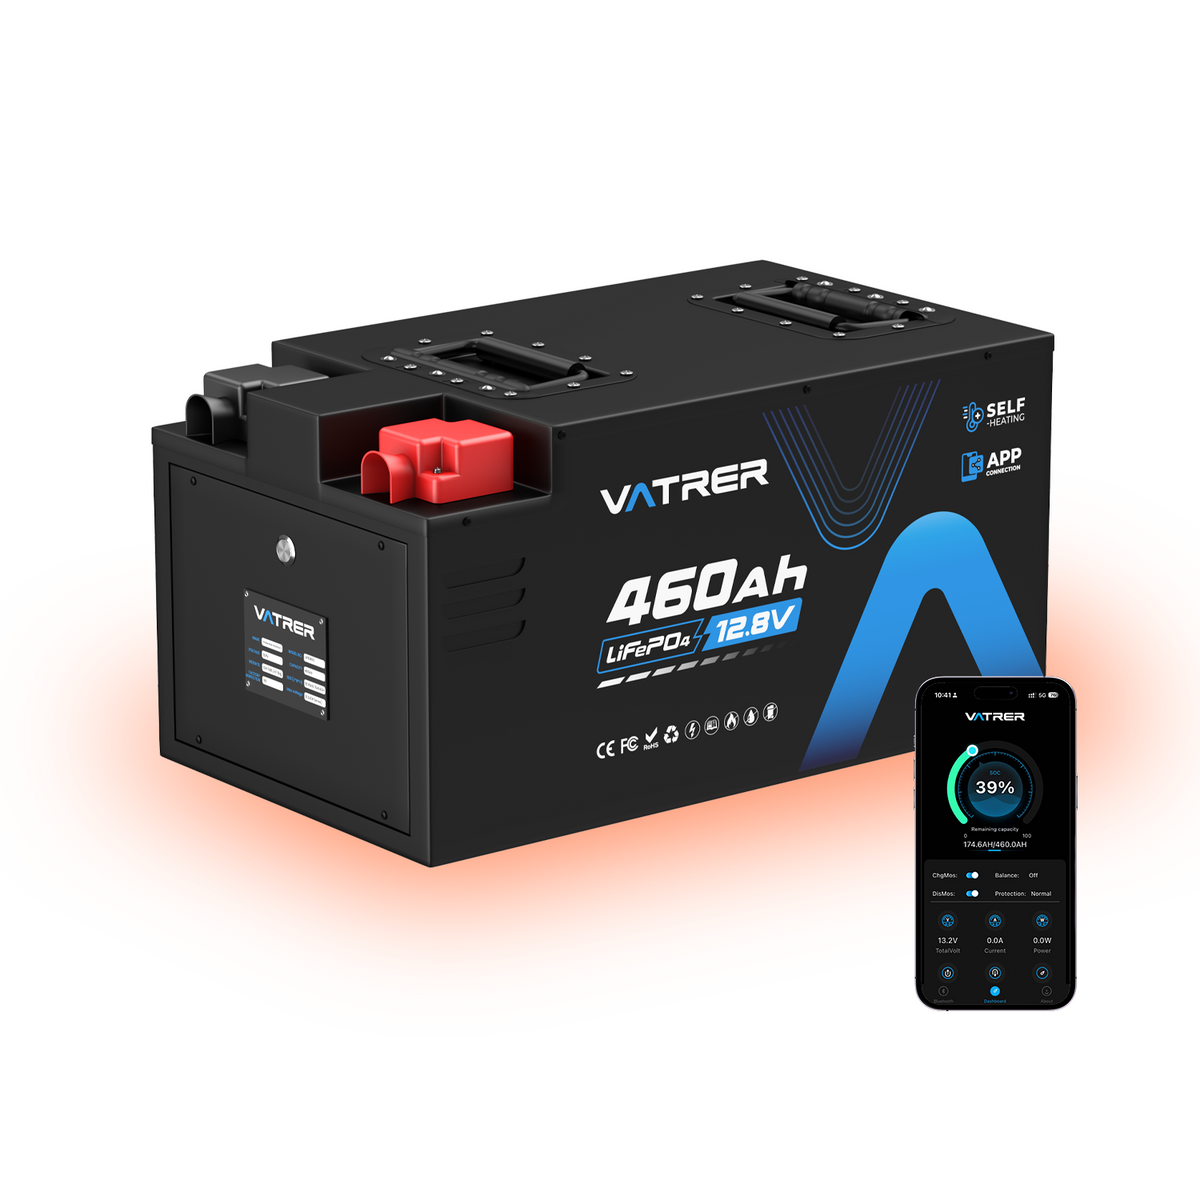
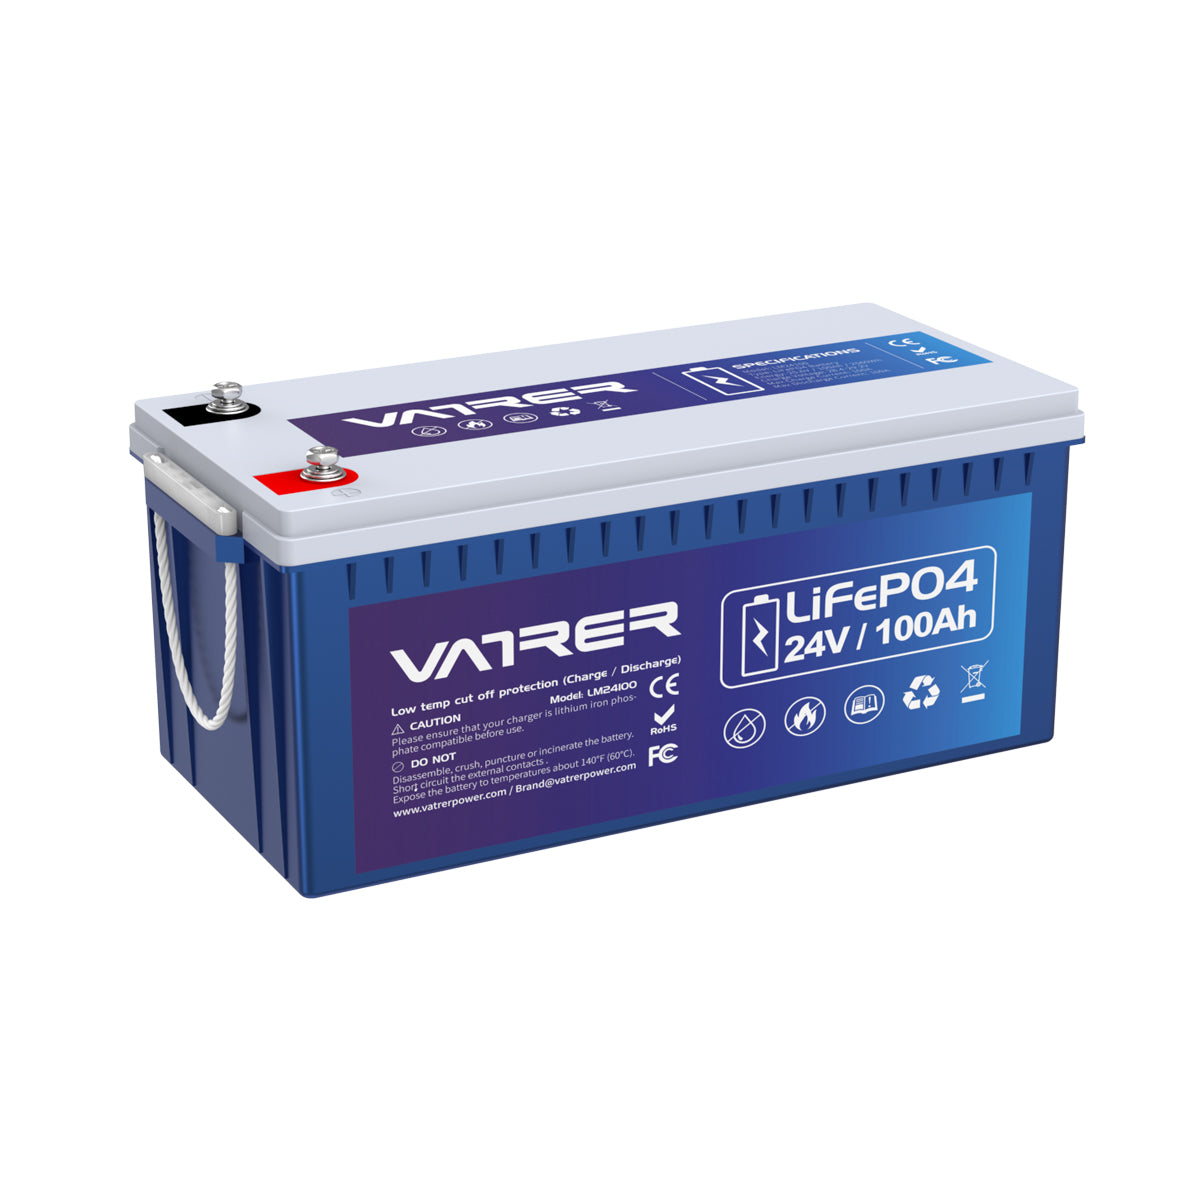
A 24V battery system typically consists of two 12V batteries connected in series. This configuration is common in electric scooters due to its balance between power output and battery size. The 24V system provides sufficient power to drive the scooter's motor while maintaining a manageable weight and size for the vehicle.
2. Components Required
To wire a 24V battery for an electric scooter, several key components and tools are necessary:
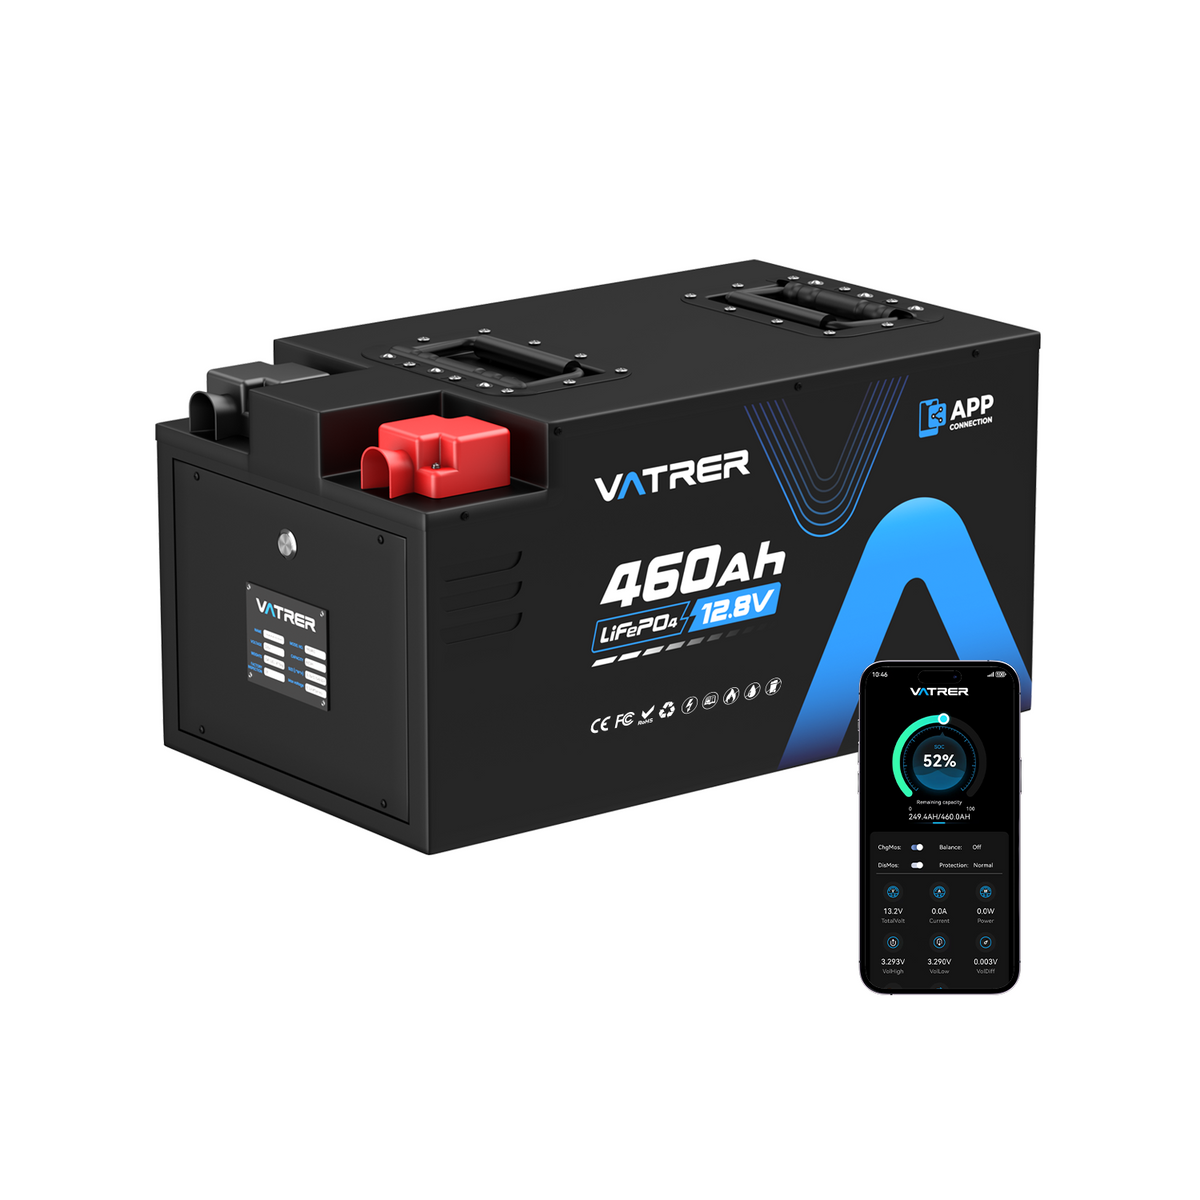
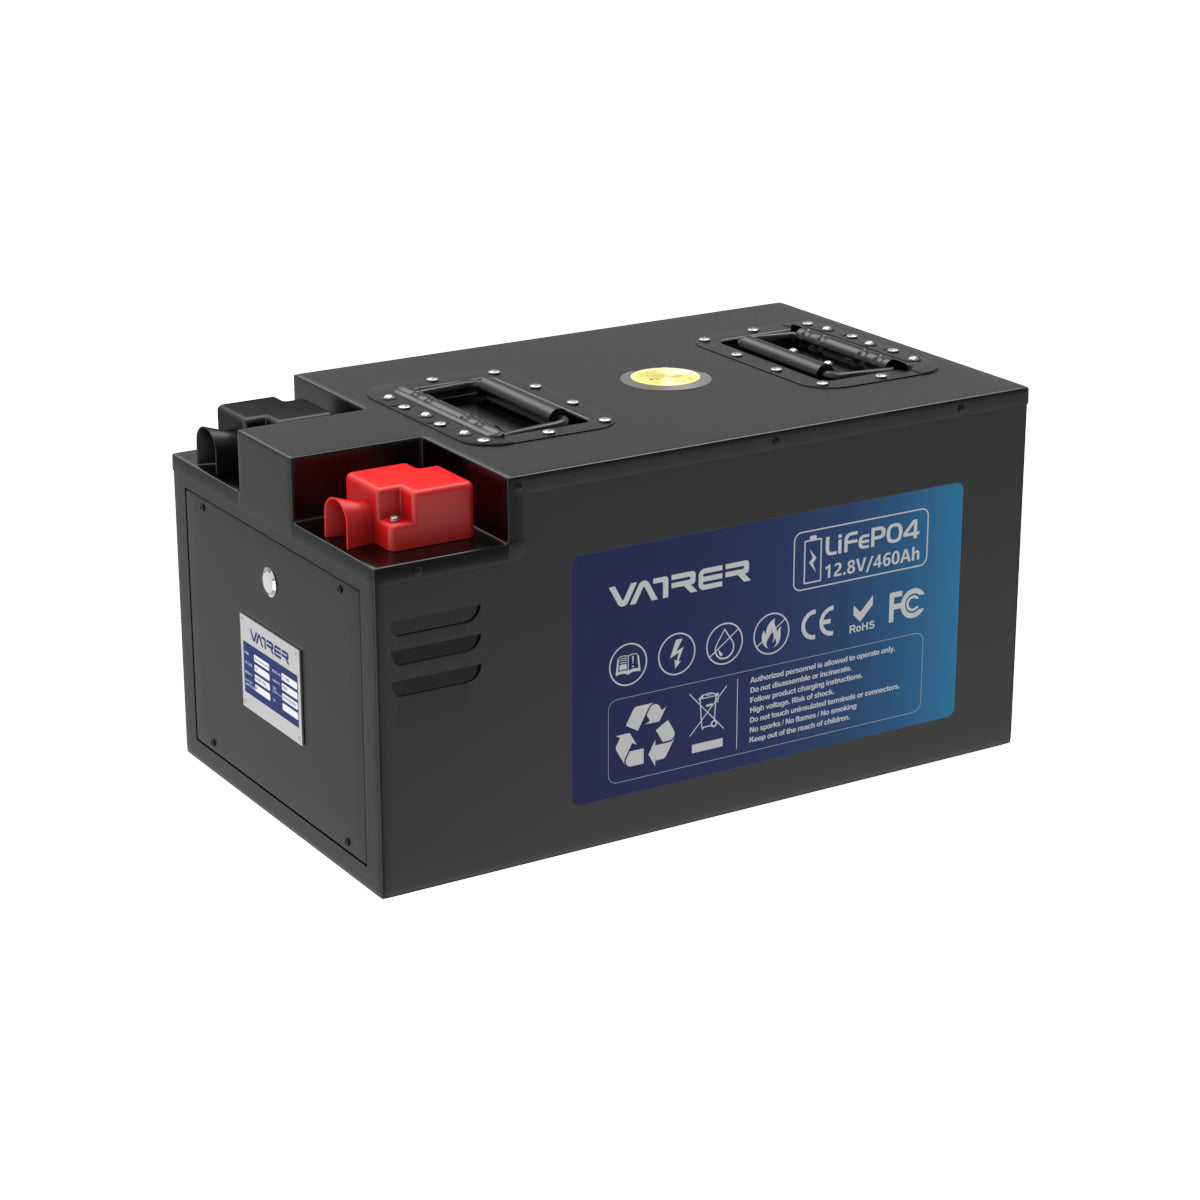
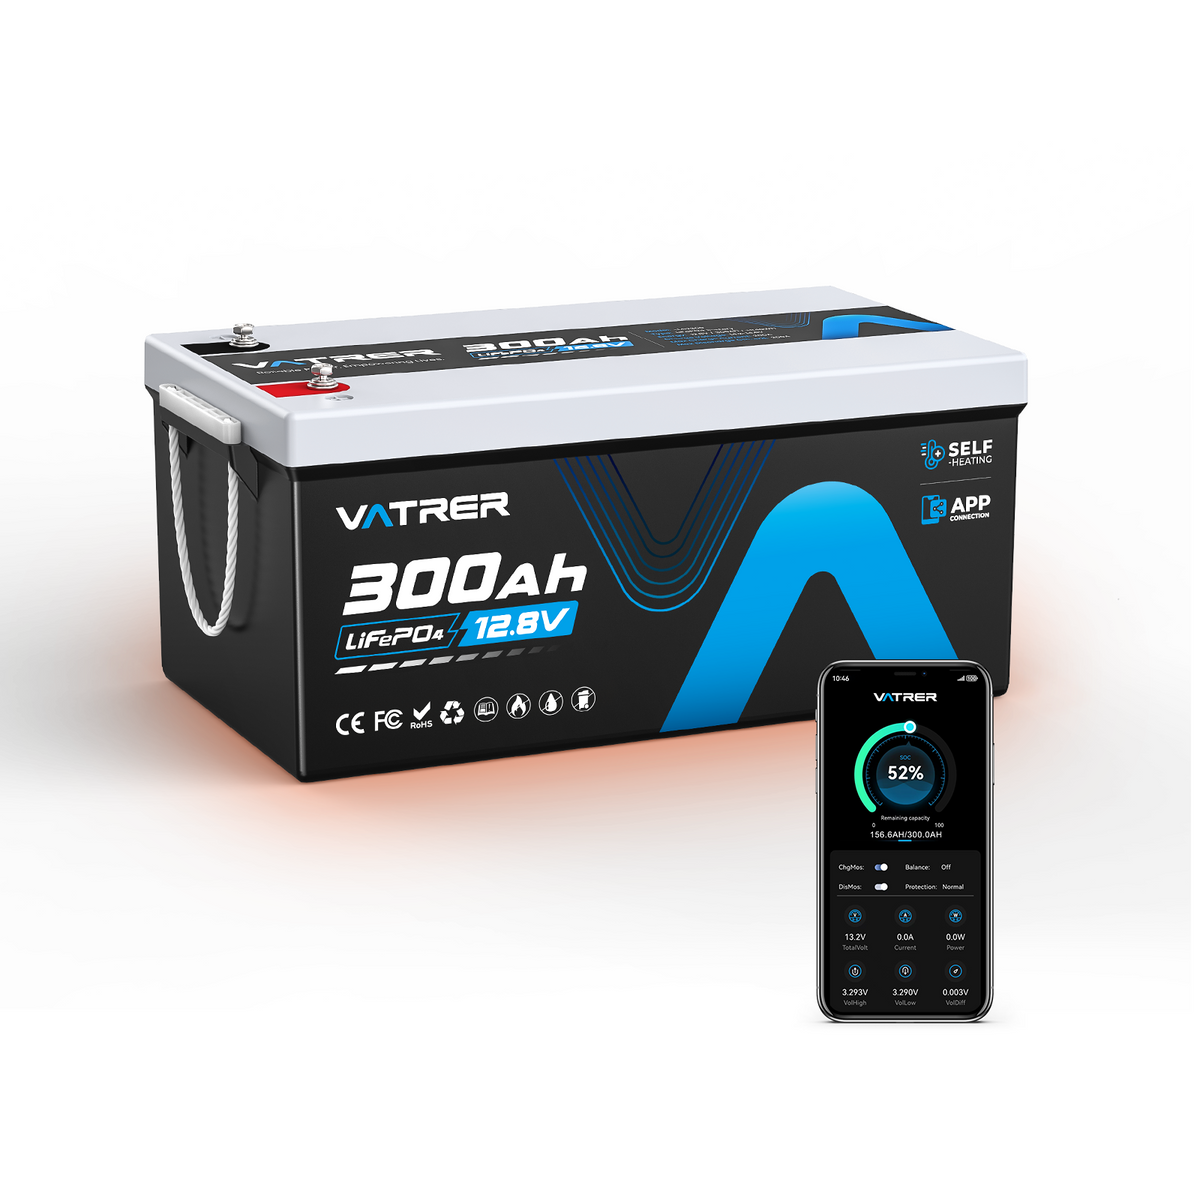
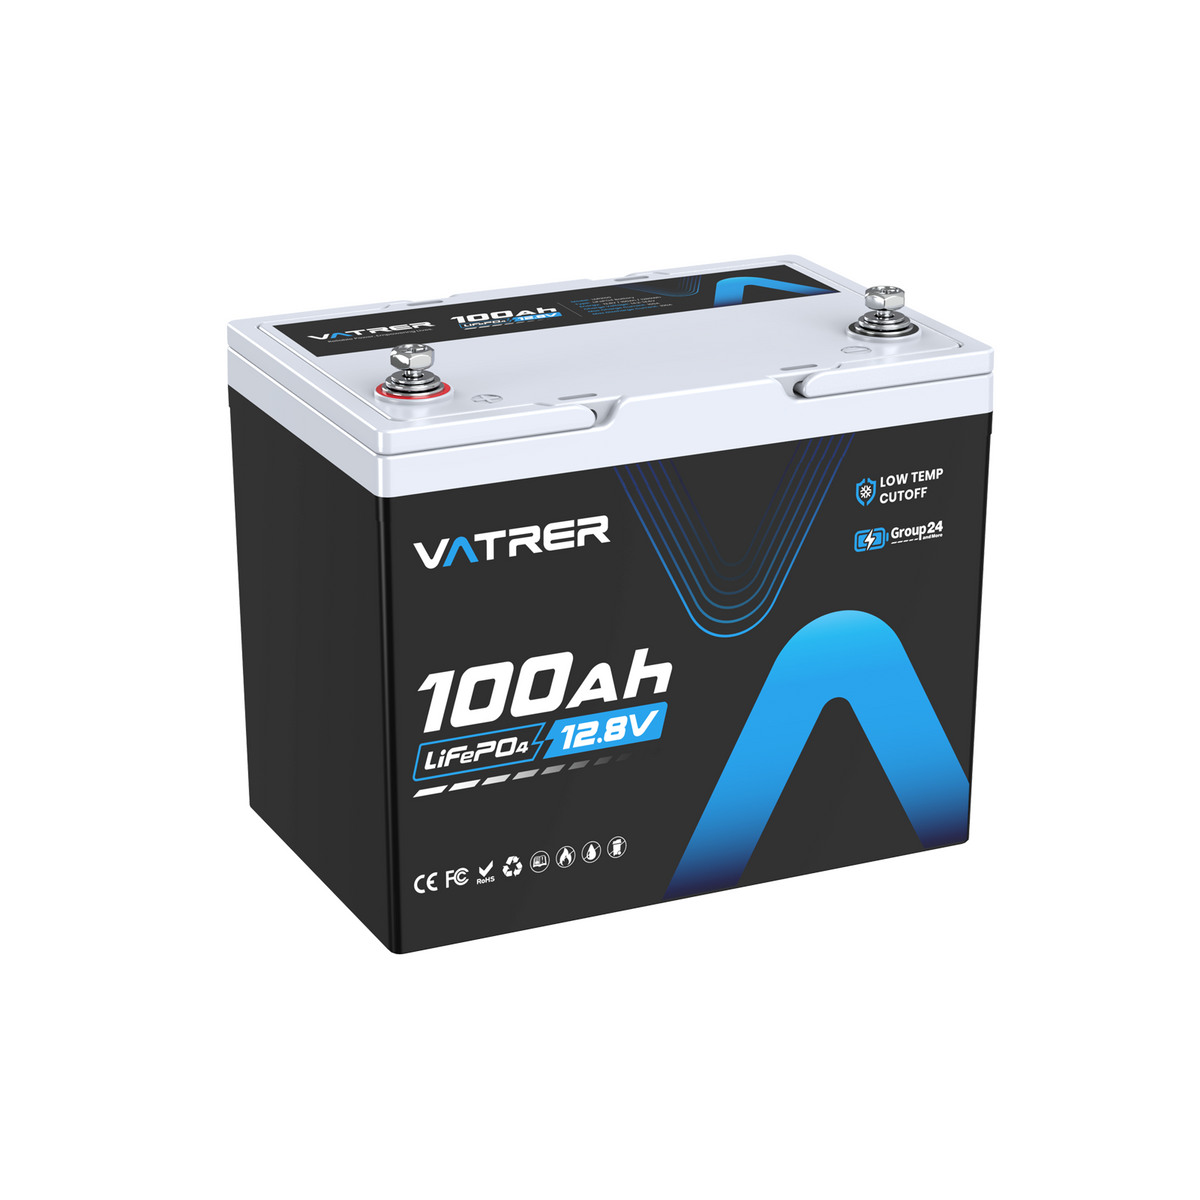
24V Battery
The core of the power system, the 24V battery, is usually composed of two 12V batteries connected in series. This setup doubles the voltage while maintaining the same capacity (amp-hours) as a single 12V battery.
Electric Scooter Controller
The controller regulates the power flow from the battery to the motor, ensuring smooth acceleration and deceleration. It is a critical component that must be compatible with the 24V system.
Electric Motor
The motor converts electrical energy into mechanical energy, propelling the scooter. It must be rated for 24V to ensure compatibility with the battery and controller.
Wiring Tools and Materials
Essential tools and materials include wire cutters, strippers, connectors, electrical tape, and a multimeter for testing connections. High-quality wires and connectors are crucial for reliable and safe connections.
3. Understanding Battery Wiring
Series vs. Parallel Connections
In a series connection, batteries are linked end-to-end, increasing the total voltage while keeping the capacity the same. For a 24V system, two 12V batteries are connected in series. In contrast, a parallel connection increases capacity while maintaining the same voltage, which is not suitable for creating a 24V system from 12V batteries.
Read More: SERIES / PARALLEL CONNECTION
Positive and Negative Terminals
Understanding the polarity of battery terminals is essential. The positive terminal is usually marked with a "+" sign, while the negative terminal is marked with a "-". Correctly identifying and connecting these terminals prevents short circuits and ensures the system functions properly.
4. Step-by-Step Wiring Process
Preparing the Workspace
Before beginning the wiring process, ensure that the workspace is clean and free of any conductive materials that could cause a short circuit. Gather all necessary tools and components.
Connecting the Batteries in Series
-
Identify the Terminals: Locate the positive and negative terminals on each 12V battery.
-
Connect in Series: Connect the positive terminal of the first battery to the negative terminal of the second battery using a suitable wire. This series connection creates a 24V battery system.
-
Secure Connections: Use connectors or solder to secure the connections, and cover them with electrical tape to prevent accidental shorts.

Wiring the Controller
-
Connect to Battery: Attach the controller's power input wires to the remaining positive and negative terminals of the battery system.
-
Secure Connections: Ensure all connections are tight and insulated to prevent any electrical hazards.
Connecting the Motor
-
Identify Motor Wires: Locate the motor's positive and negative wires, usually color-coded.
-
Connect to Controller: Attach these wires to the corresponding output terminals on the controller.
-
Test Connections: Use a multimeter to verify that the connections are correct and secure.
5. Safety Precautions
Handling Batteries Safely
-
Always wear protective gear, such as gloves and goggles, when handling batteries.
-
Avoid shorting the terminals, as this can cause sparks or battery damage.
Avoiding Short Circuits
-
Double-check all connections to ensure they are correct and secure.
-
Use insulated tools to prevent accidental shorts during the wiring process.
6. Testing the Setup
Checking Connections
-
Use a multimeter to verify that all connections are secure and that the correct voltage is present across the system.
-
Inspect all wires and connectors for signs of wear or damage.
Testing the Scooter's Functionality
-
Once all connections are verified, power on the scooter and test its functionality.
-
Check for smooth acceleration and braking, and ensure that the motor responds correctly to the throttle.
7. Troubleshooting Common Issues
Identifying Wiring Errors
-
If the scooter does not function correctly, recheck all connections for errors.
-
Ensure that the battery is fully charged and that the controller is functioning properly.
Solutions for Common Problems
-
No Power: Check battery connections and ensure the controller is receiving power.
-
Intermittent Operation: Inspect for loose connections or damaged wires.
-
Motor Not Running: Verify that the motor is correctly connected to the controller and that the controller is operational.
8. Conclusion
Wiring a 24V battery for an electric scooter requires careful attention to detail and adherence to safety protocols. By following the outlined steps, you can ensure a reliable and efficient power system for your scooter. Always perform final safety checks and regular maintenance to keep the scooter in optimal condition.


