Table of Contents
Creating a 48V battery system from eight 12V batteries is a common task for many DIY enthusiasts and professionals alike, especially in applications such as golf carts, renewable energy systems, and backup power setups. Understanding how to properly connect these batteries is crucial for safety and efficiency. This blog post will guide you through the process, ensuring you have a solid grasp of how to achieve a 48V system.
Understanding Series and Parallel Connections
First, it’s important to differentiate between series and parallel connections:
- Series Connection: Increases the voltage output without changing the amp-hour (Ah) capacity. Connecting two 12V batteries in series gives you 24V.

- Parallel Connection: Increases the amp-hour capacity while keeping the voltage the same. Connecting two 12V batteries in parallel keeps the voltage at 12V but doubles the capacity.

Materials Needed
-
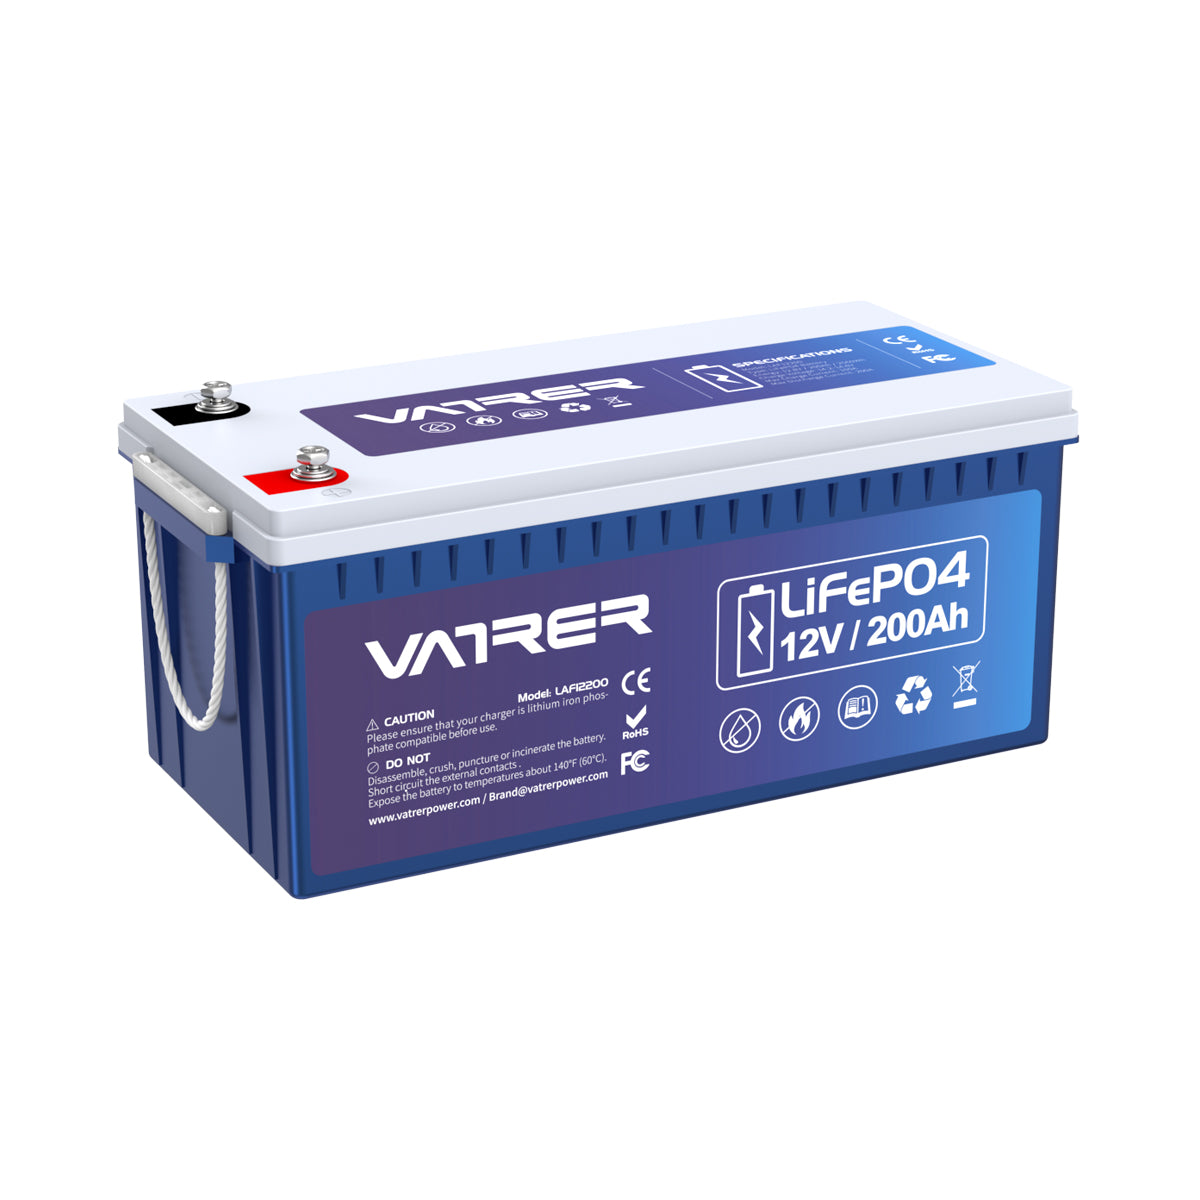
8 x 12V batteries
-
Battery cables
-
Wrenches or tools for connecting terminals
-
Voltage meter (optional, for testing)
Step-by-Step Guide to Making a 48V Battery Array
Step 1: Plan Your Layout
Decide how you will physically arrange your batteries. Ensure you have enough space and that the connections are accessible. It’s a good practice to sketch the layout.
Step 2: Series Connections
To achieve 48V, you need to connect your batteries in series in groups. Here’s how you do it:
-
Create Two 48V Groups:
-
Group 1: Connect four 12V batteries in series.
- Connect the positive terminal of Battery 1 to the negative terminal of Battery 2.
- Connect the positive terminal of Battery 2 to the negative terminal of Battery 3.
- Finally, connect the positive terminal of Battery 3 to the negative terminal of Battery 4.
- The remaining free terminals on Battery 1 (negative) and Battery 4 (positive) will be used in the final step.
- Group 2: Repeat the above steps for Batteries 5 to 8.
-
Group 1: Connect four 12V batteries in series.
Step 3: Parallel Connection of the Two Groups
Once you have two 48V groups:
- Connect the negative terminal of Battery 1 in Group 1 to the negative terminal of Battery 5 in Group 2.
- Connect the positive terminal of Battery 4 in Group 1 to the positive terminal of Battery 8 in Group 2.

Step 4: Secure and Check Connections
Ensure all connections are tight and secure. Loose connections can lead to poor performance or safety hazards. Use a voltage meter to check the total output voltage across the system’s main positive and negative terminals to ensure it reads approximately 48V.
Step 5: Test the System
Before putting the system into full operation, test it under load to make sure it operates correctly and safely.
Safety Tips
-
Always wear protective gear, such as gloves and goggles when working with batteries.
-
Ensure the area is well-ventilated when working on battery systems to avoid the buildup of potentially explosive gases.
-
Regularly check and maintain your battery connections to prevent corrosion and ensure optimal performance.
Conclusion
Connecting eight 12V batteries to form a 48V system can seem daunting, but by following these detailed steps, you can safely and effectively set up your battery configuration. This setup is ideal for high-power applications, providing the necessary voltage for efficient performance. Remember, safety is paramount, so take your time to ensure everything is done correctly. Happy wiring!


