1. Introduction
In the realm of recreational vehicles (RVs) and campers, maintaining a charged battery is crucial for ensuring that all onboard systems function smoothly. Whether you're on a long road trip or camping off-grid, a reliable power source is essential for comfort and safety. This paper explores the various methods available for charging a camper battery while driving, providing a comprehensive guide to ensure your battery remains charged and ready for use.

2. Understanding Camper Battery Systems
Types of Batteries Used in Campers
Campers typically use deep cycle batteries, which are designed to provide a steady amount of current over a long period. Unlike car batteries, which deliver a short burst of energy to start an engine, deep cycle batteries are built to be discharged and recharged repeatedly. The most common types include:
-
Lead-Acid Batteries: These are the traditional choice, known for their reliability and cost-effectiveness. They require regular maintenance, such as checking water levels and cleaning terminals.
-
AGM (Absorbent Glass Mat) Batteries: These are a type of lead-acid battery that is sealed and maintenance-free. They are more expensive but offer better performance and longevity.
-
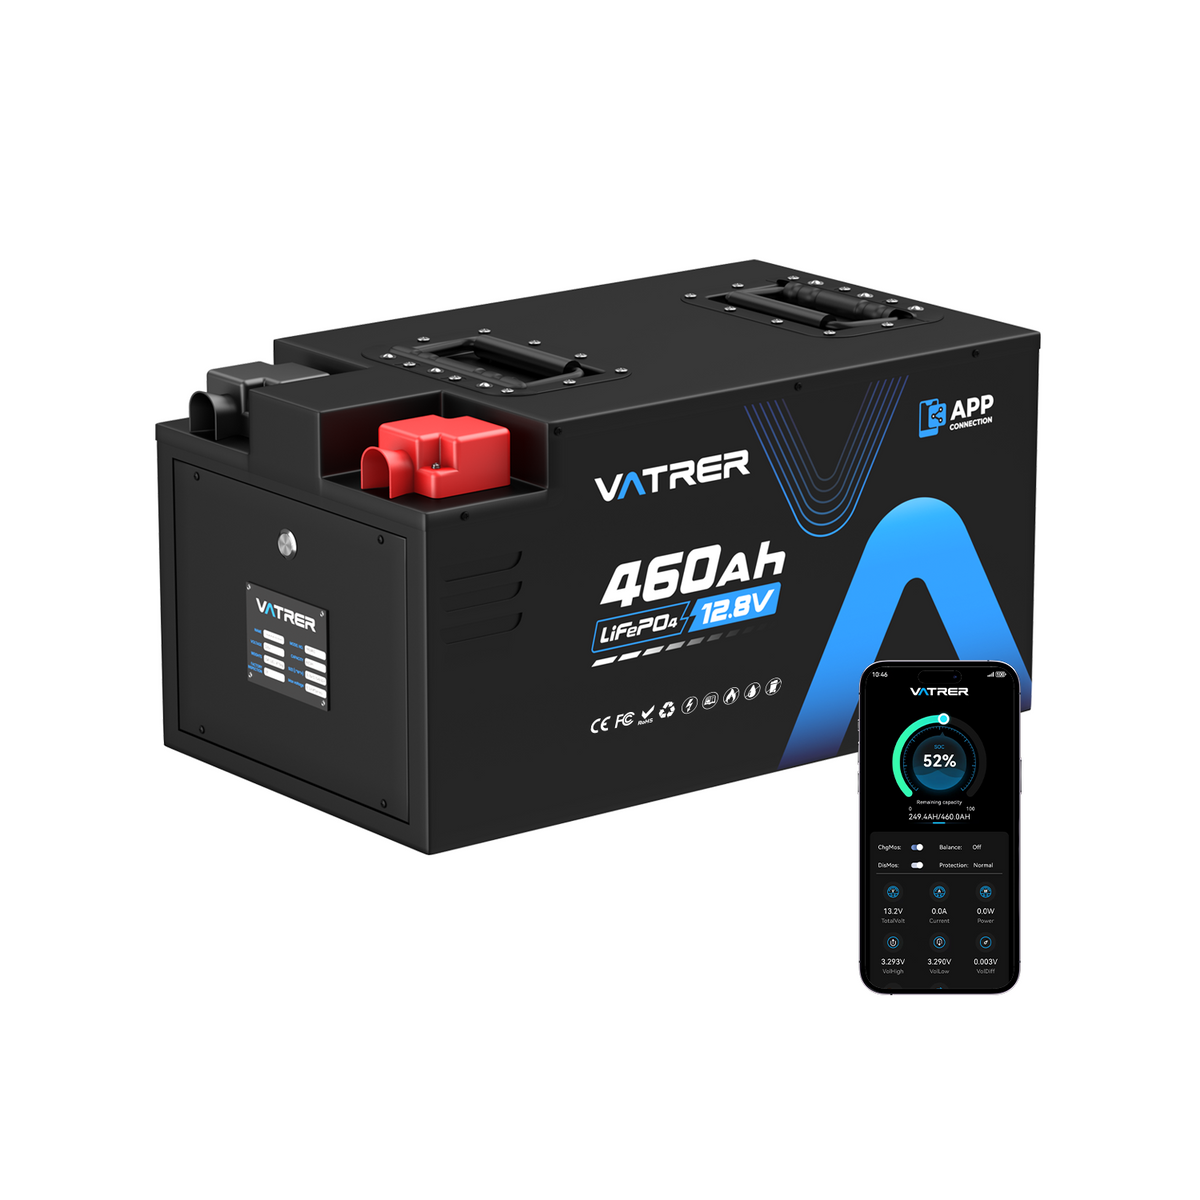
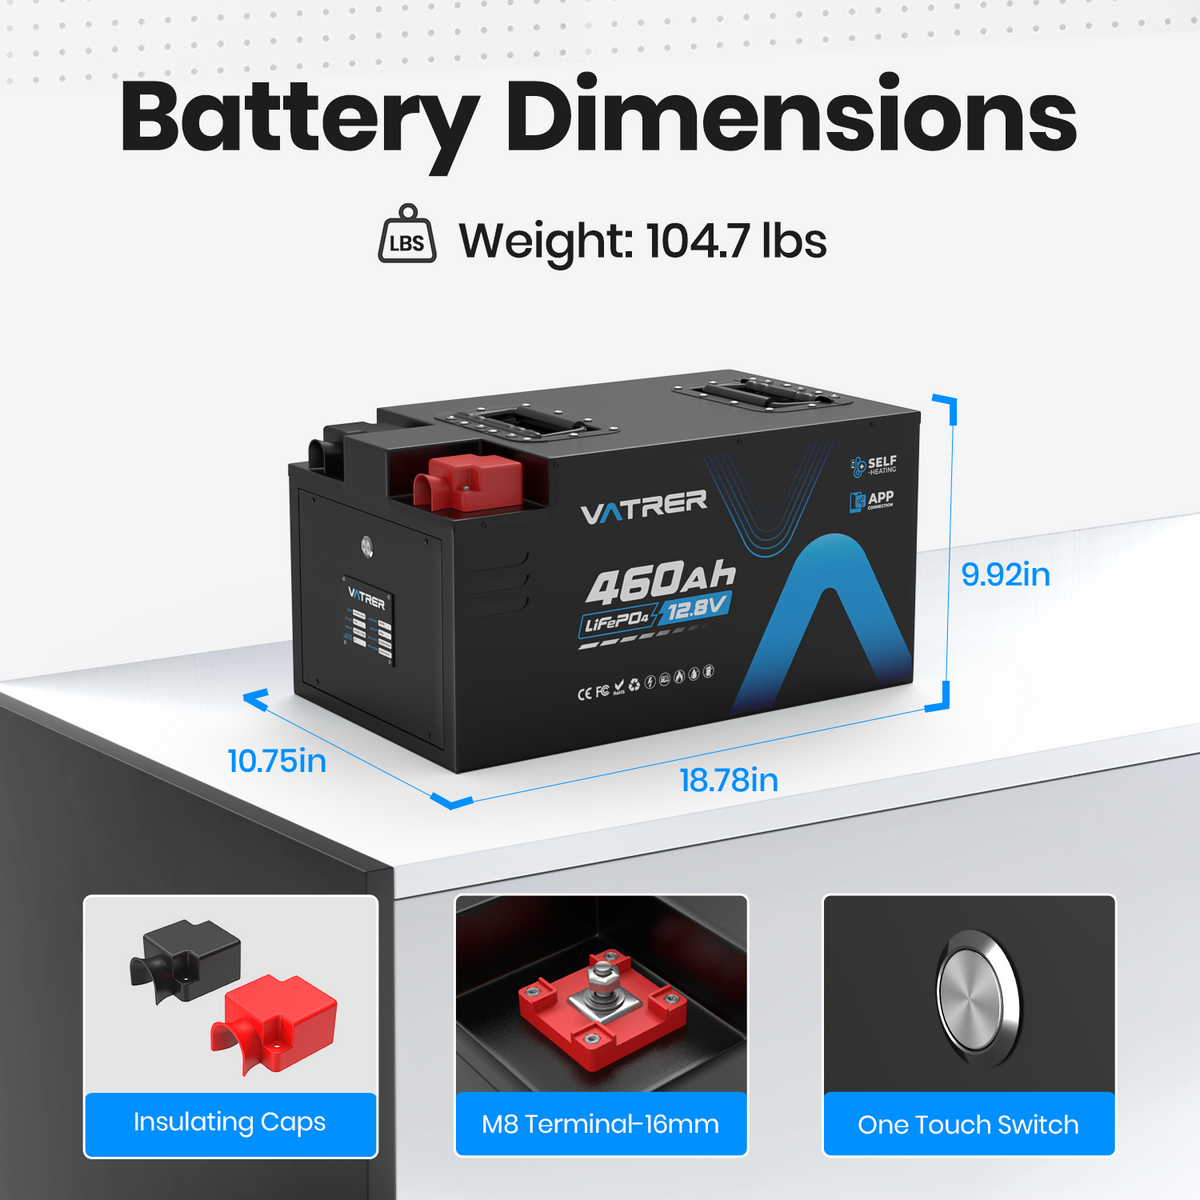
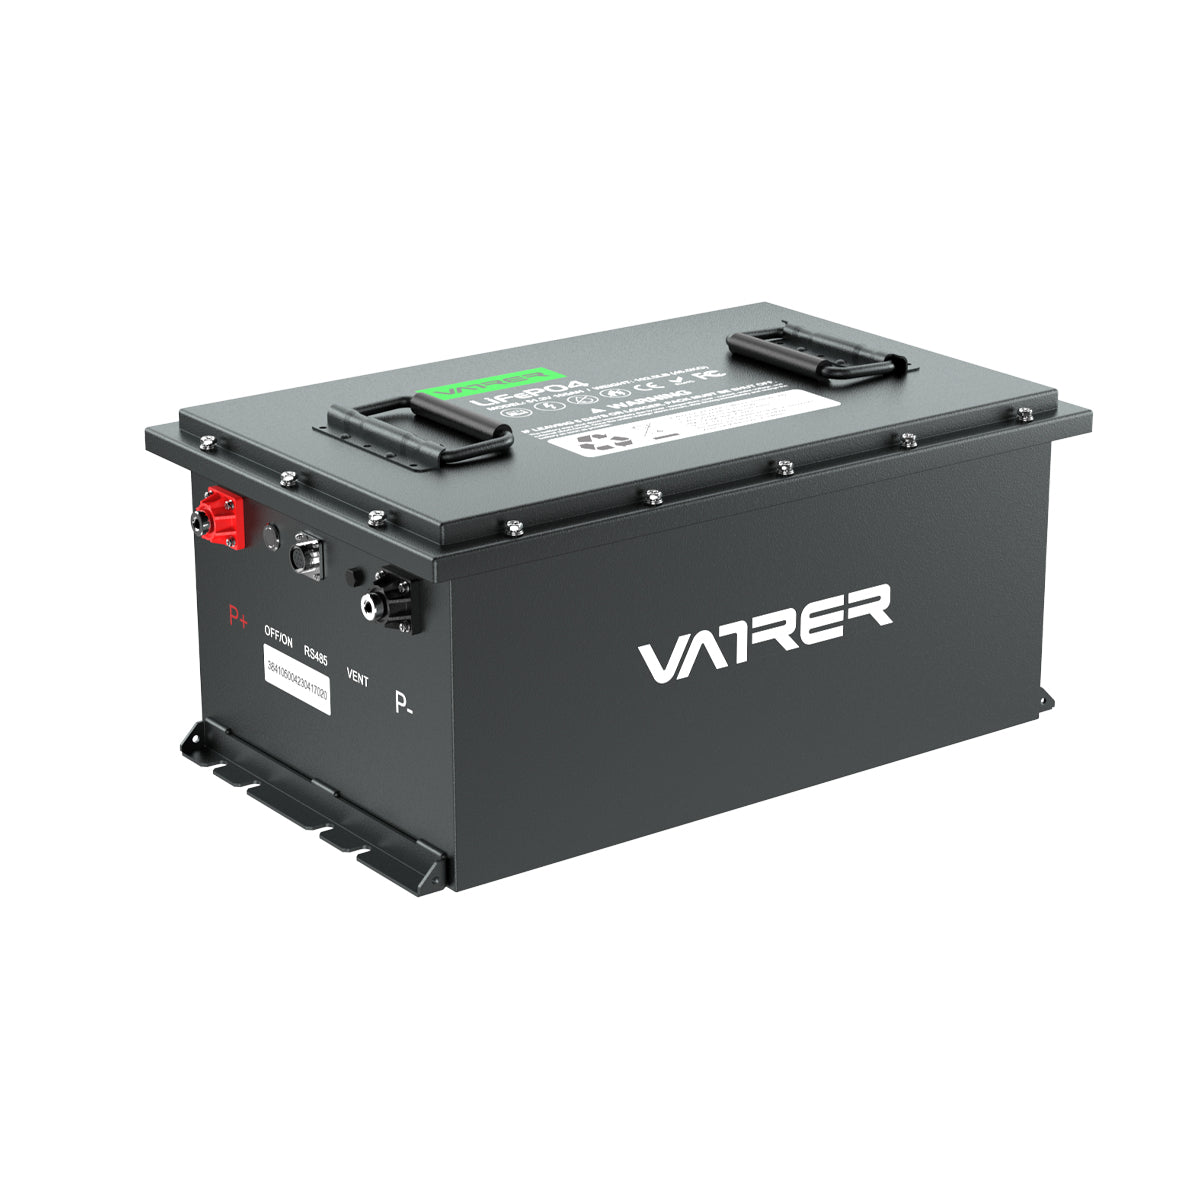
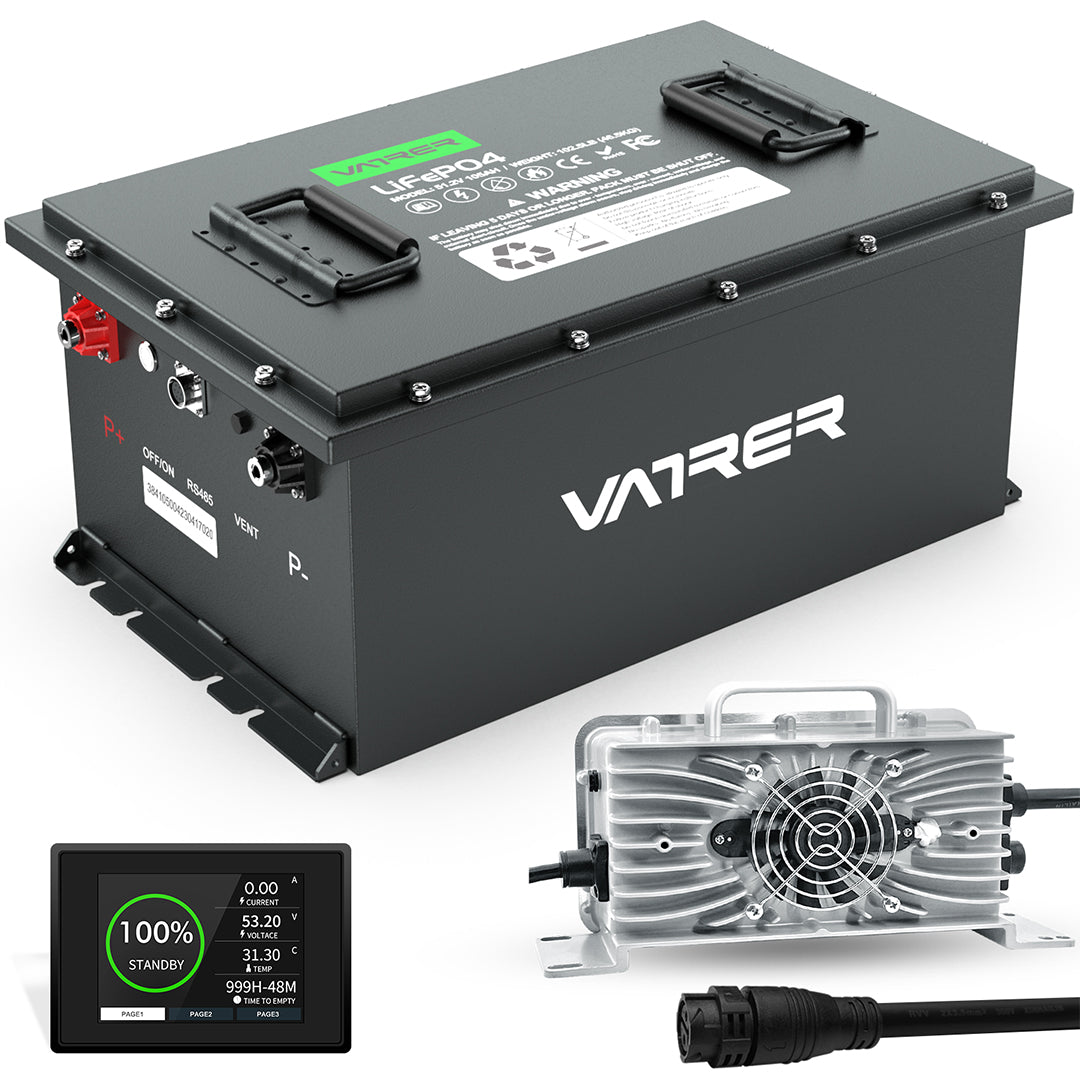
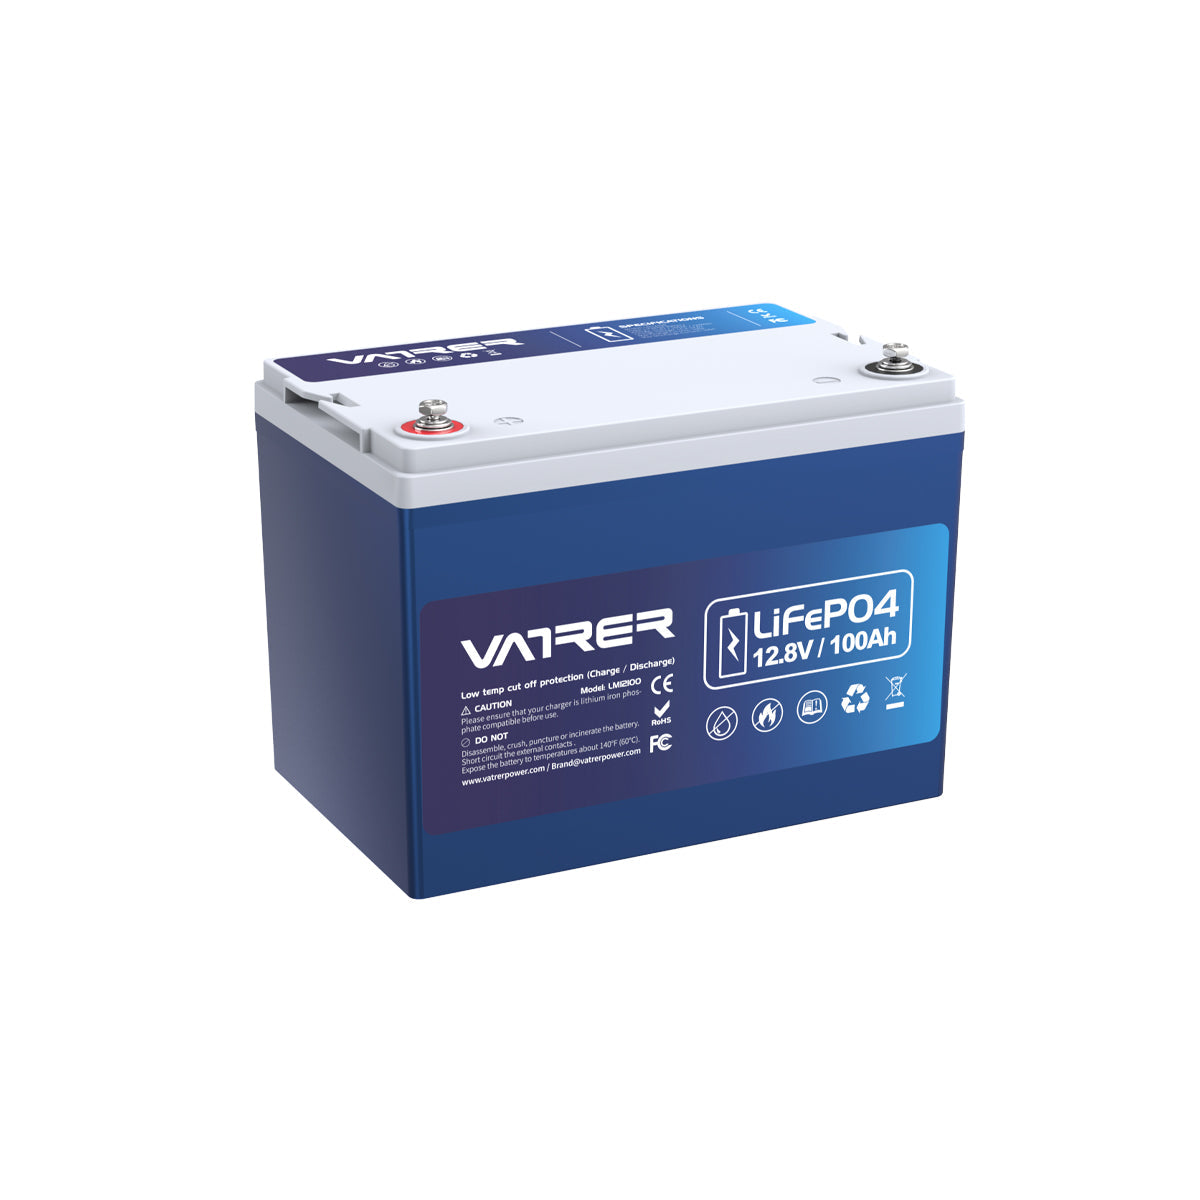
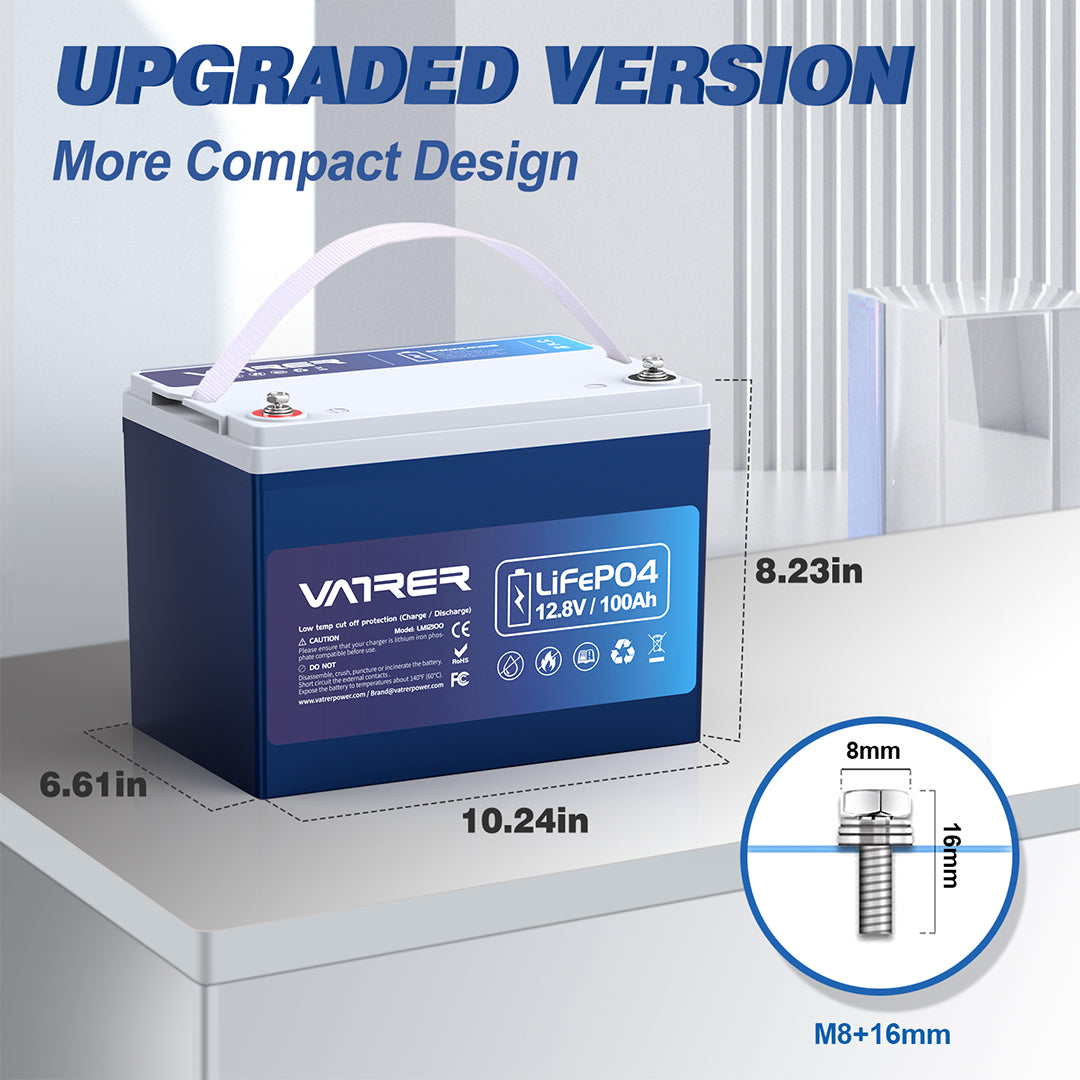
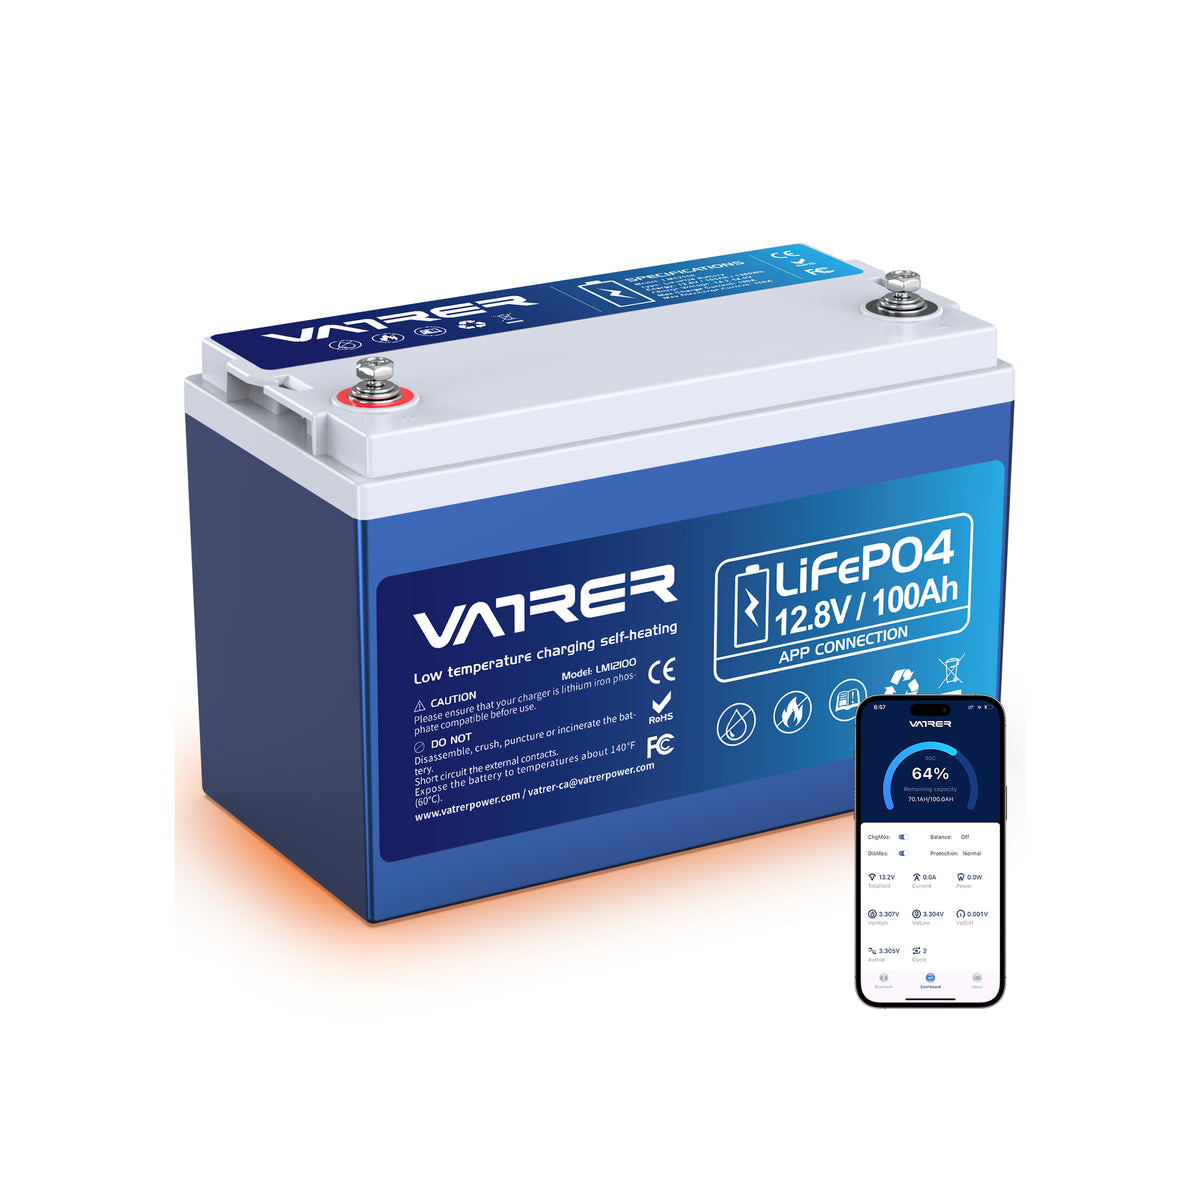
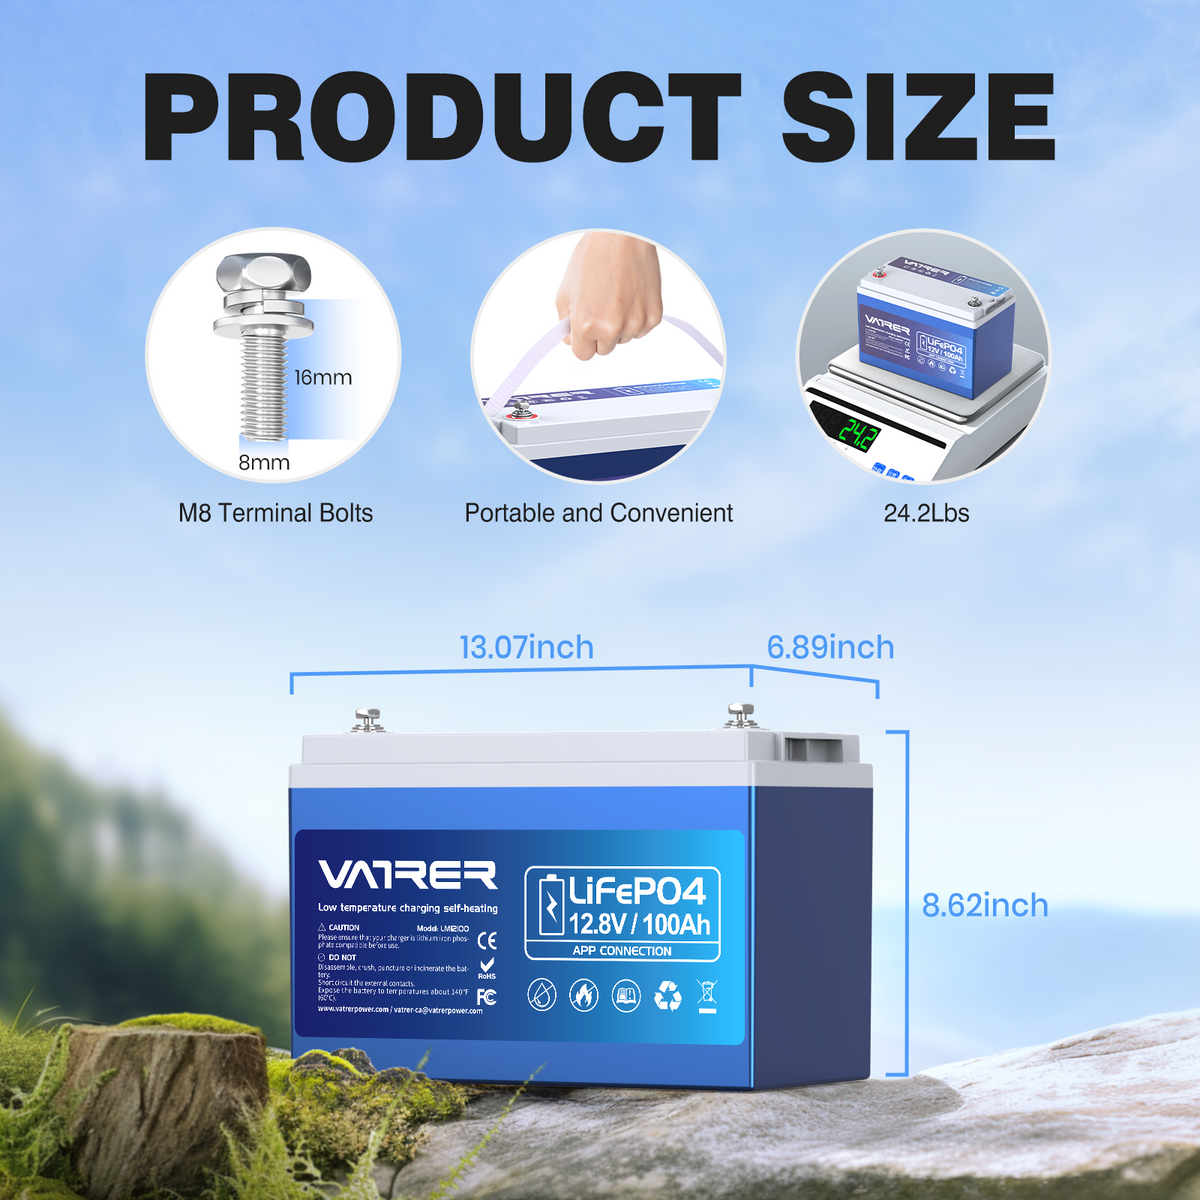
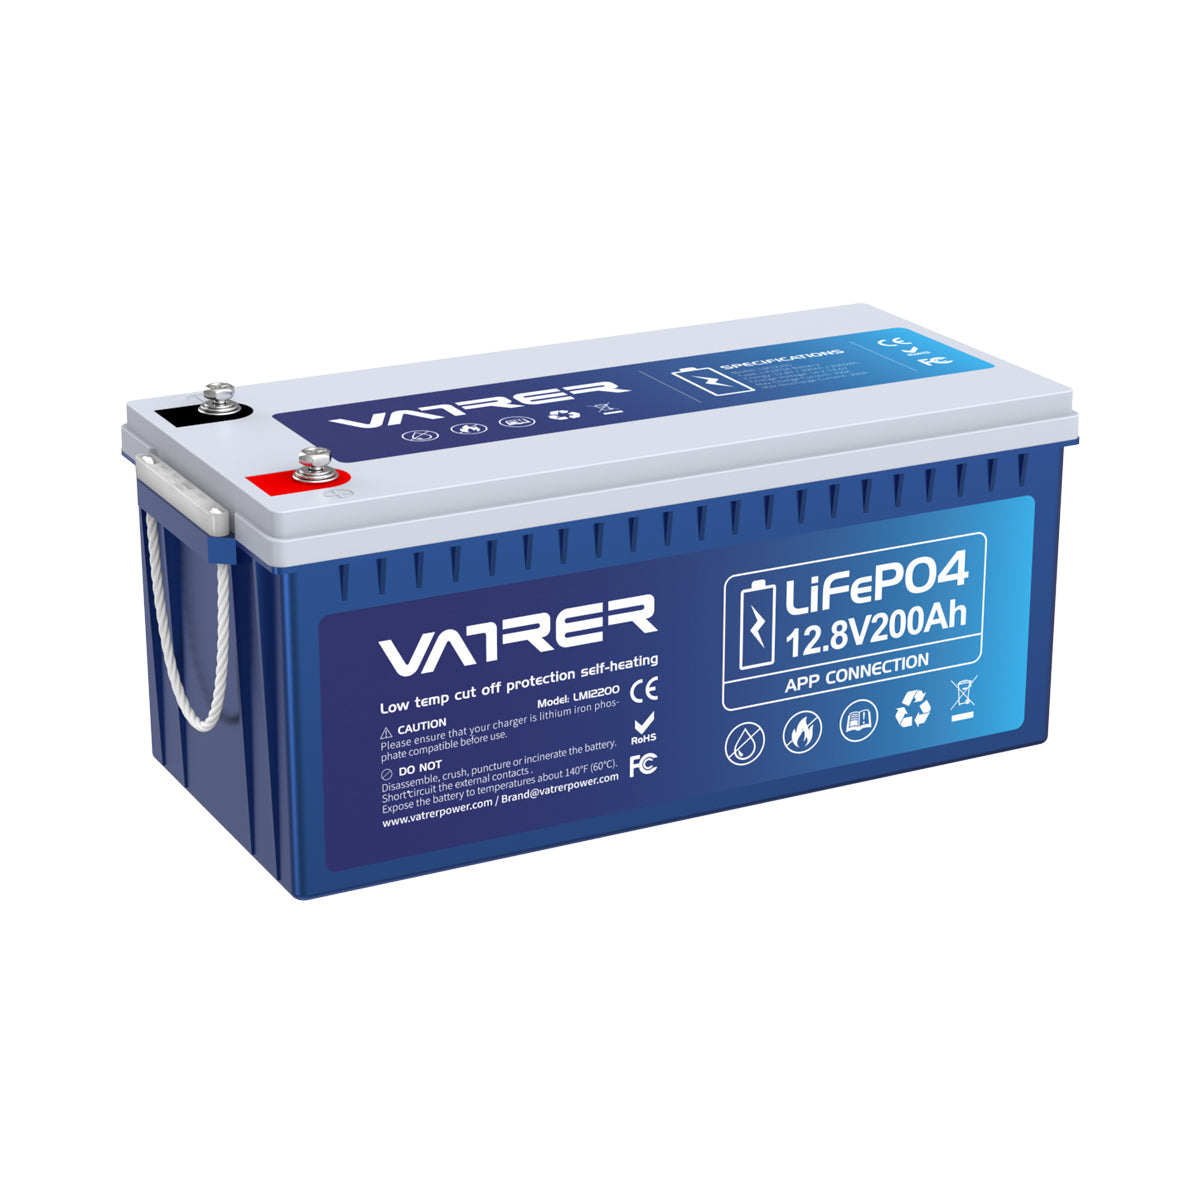
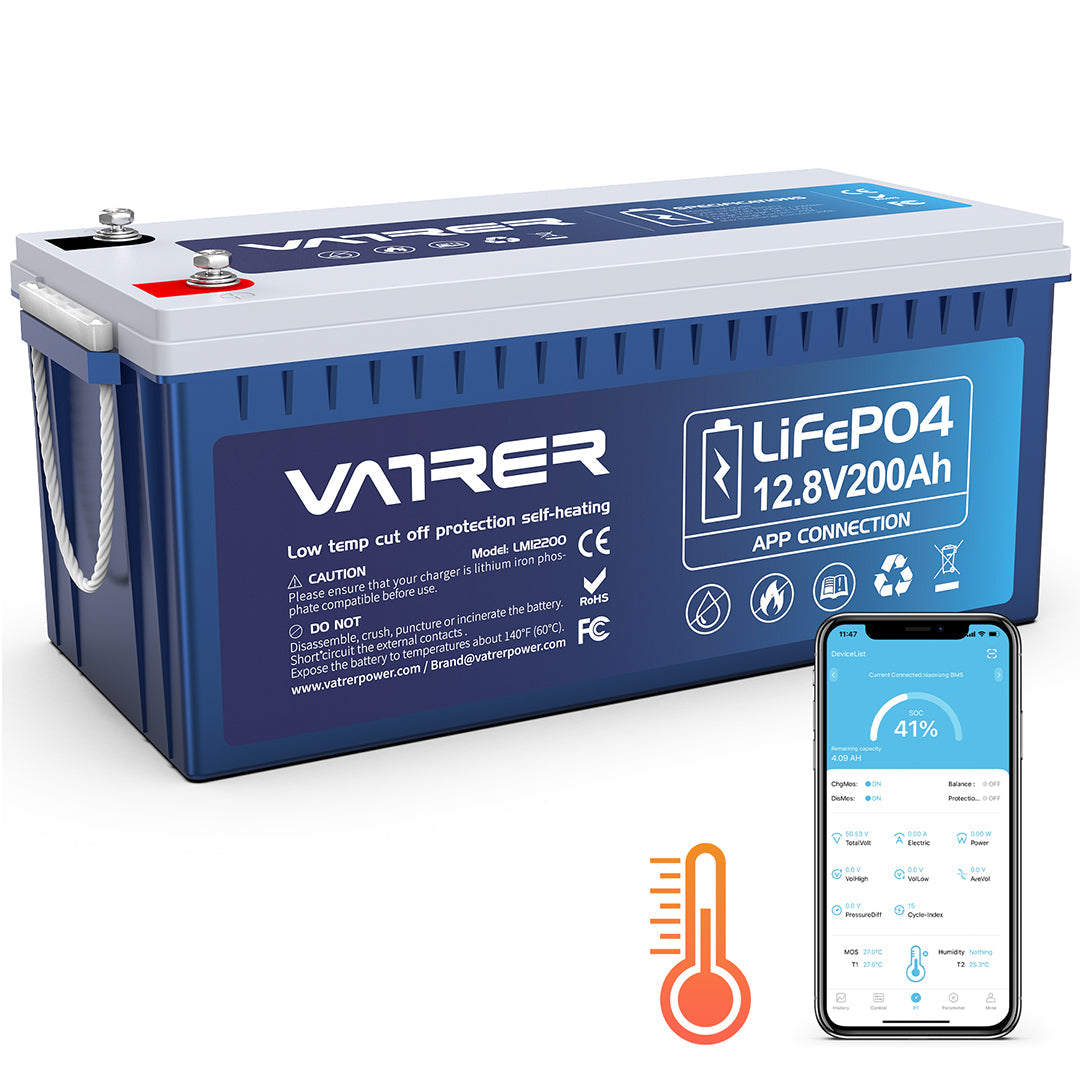
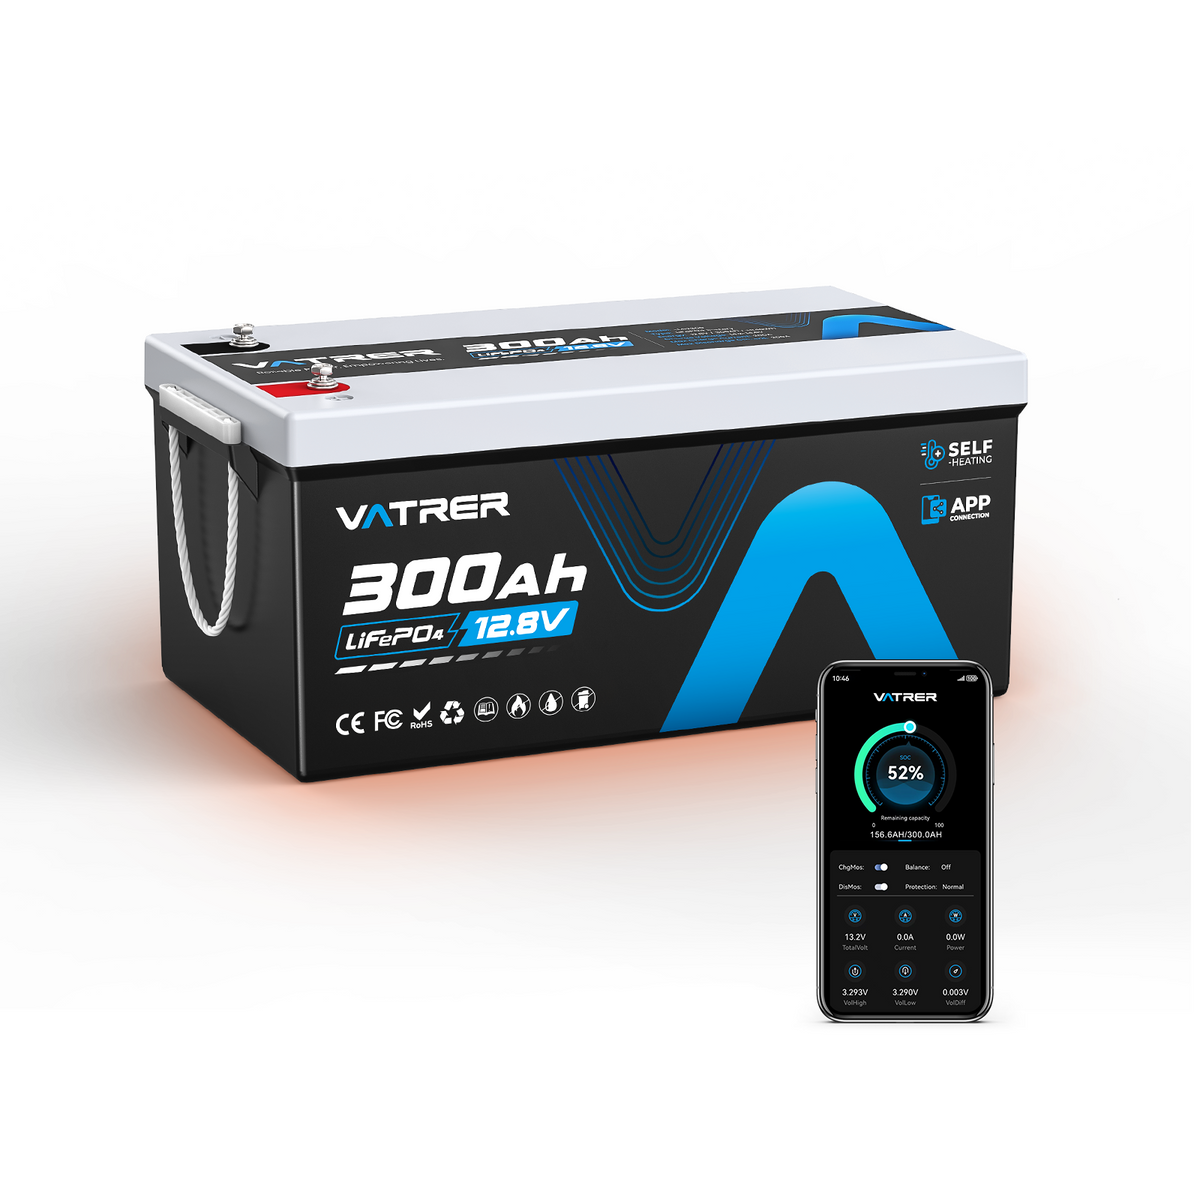
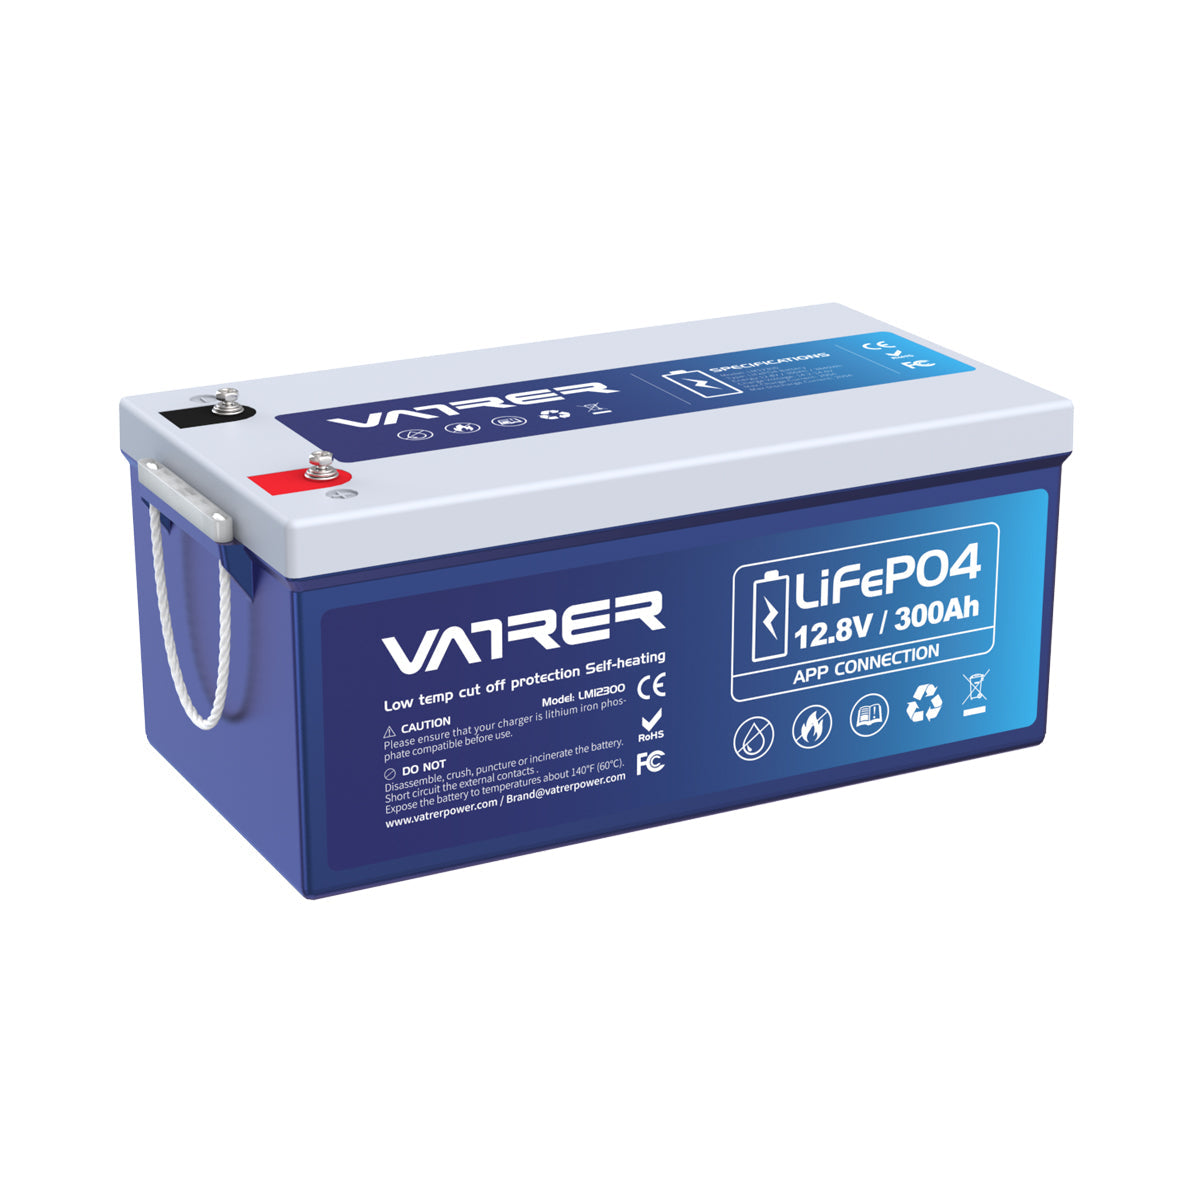
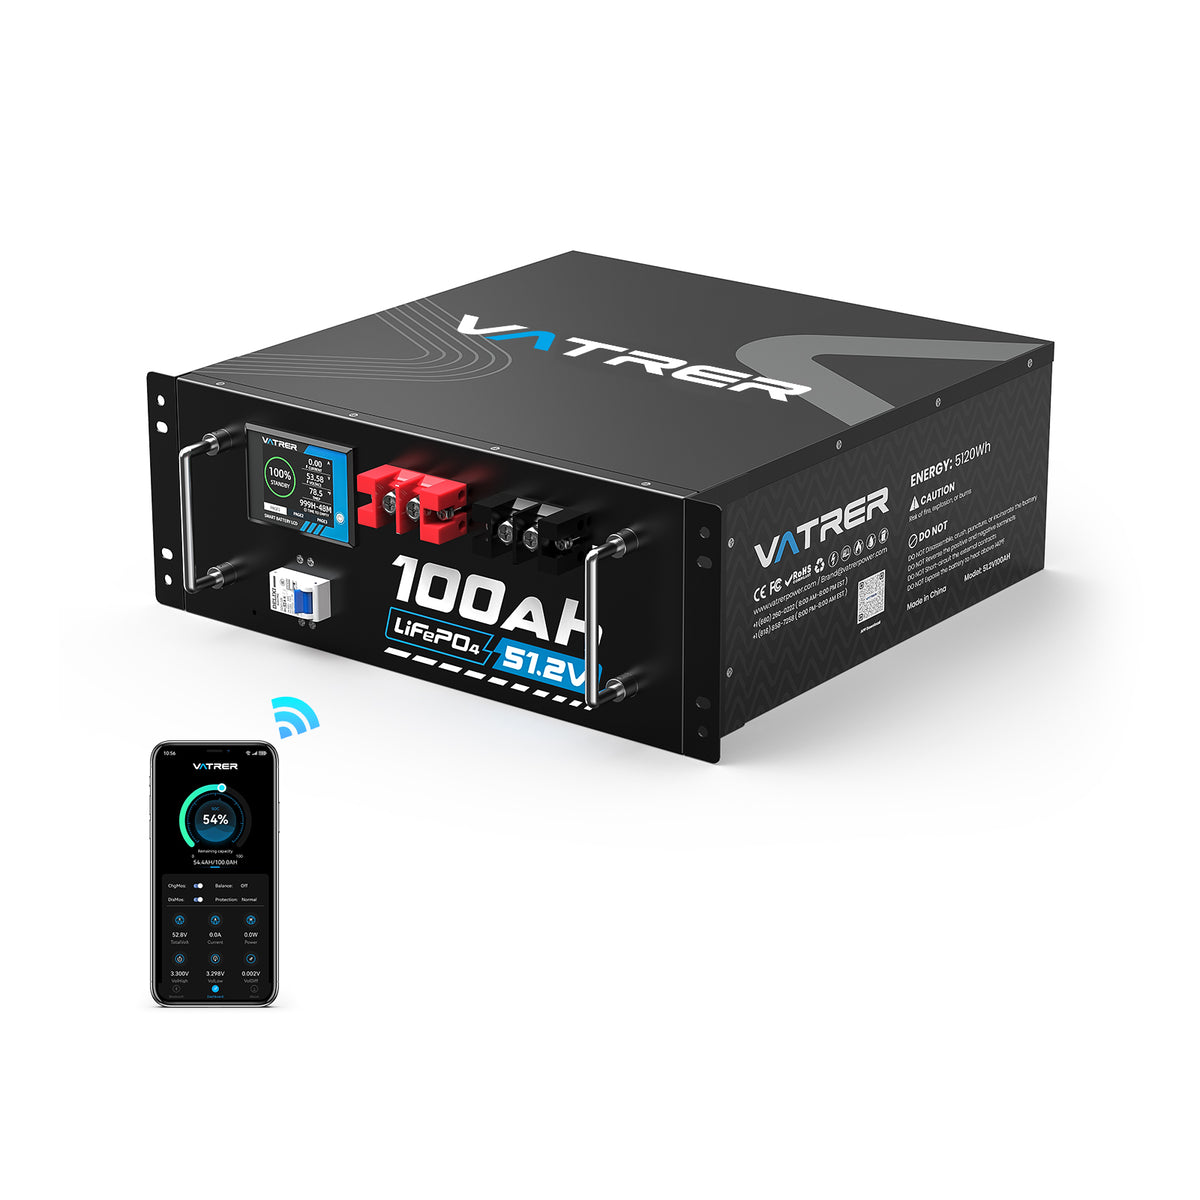
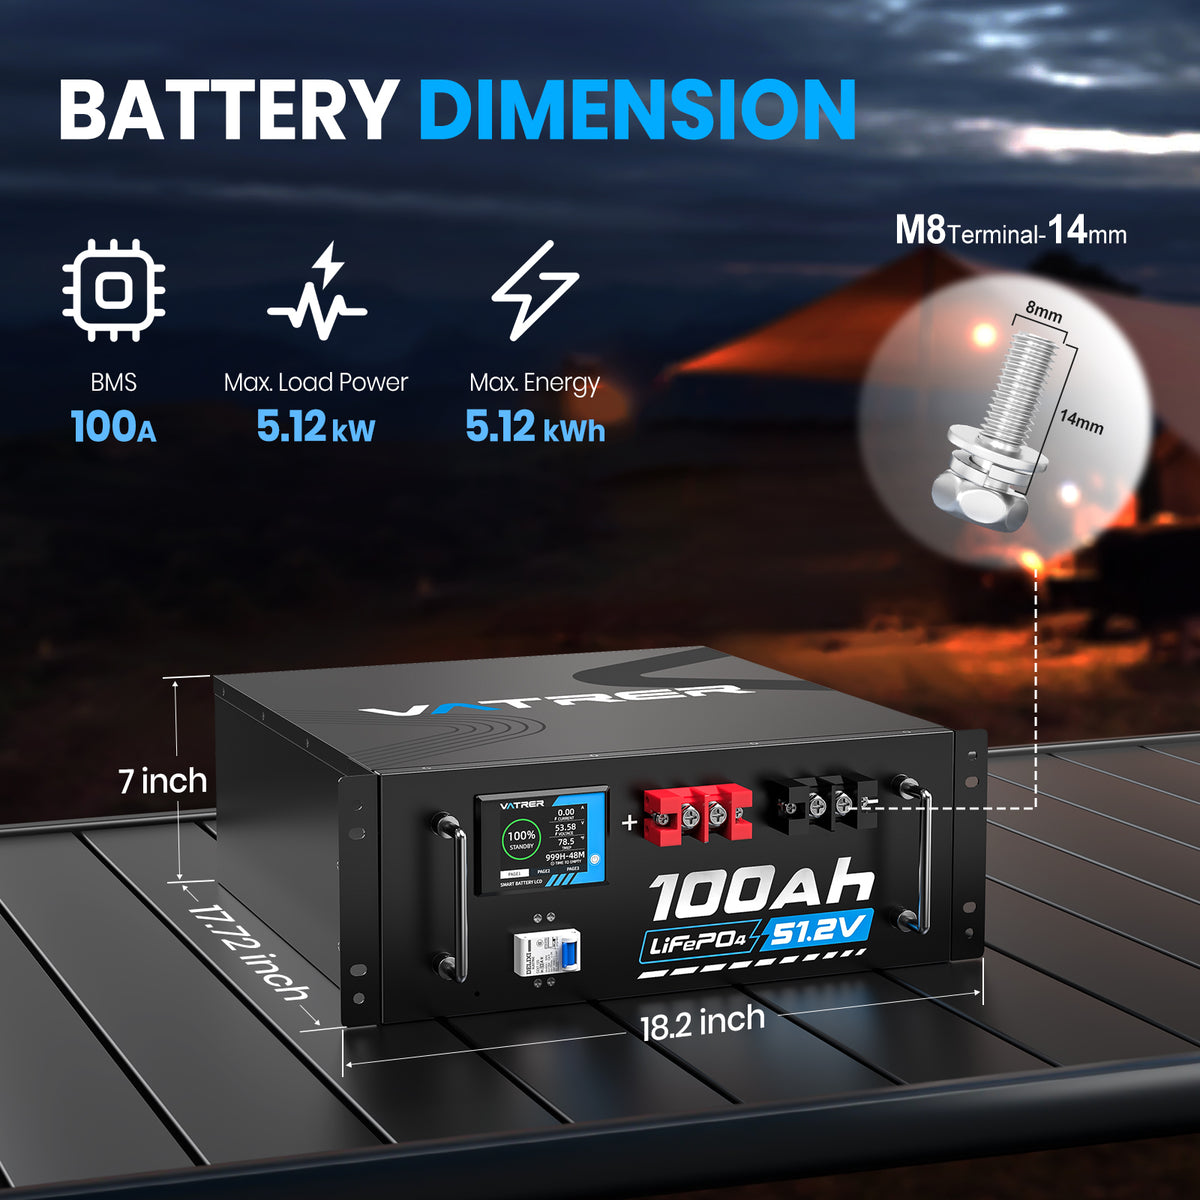
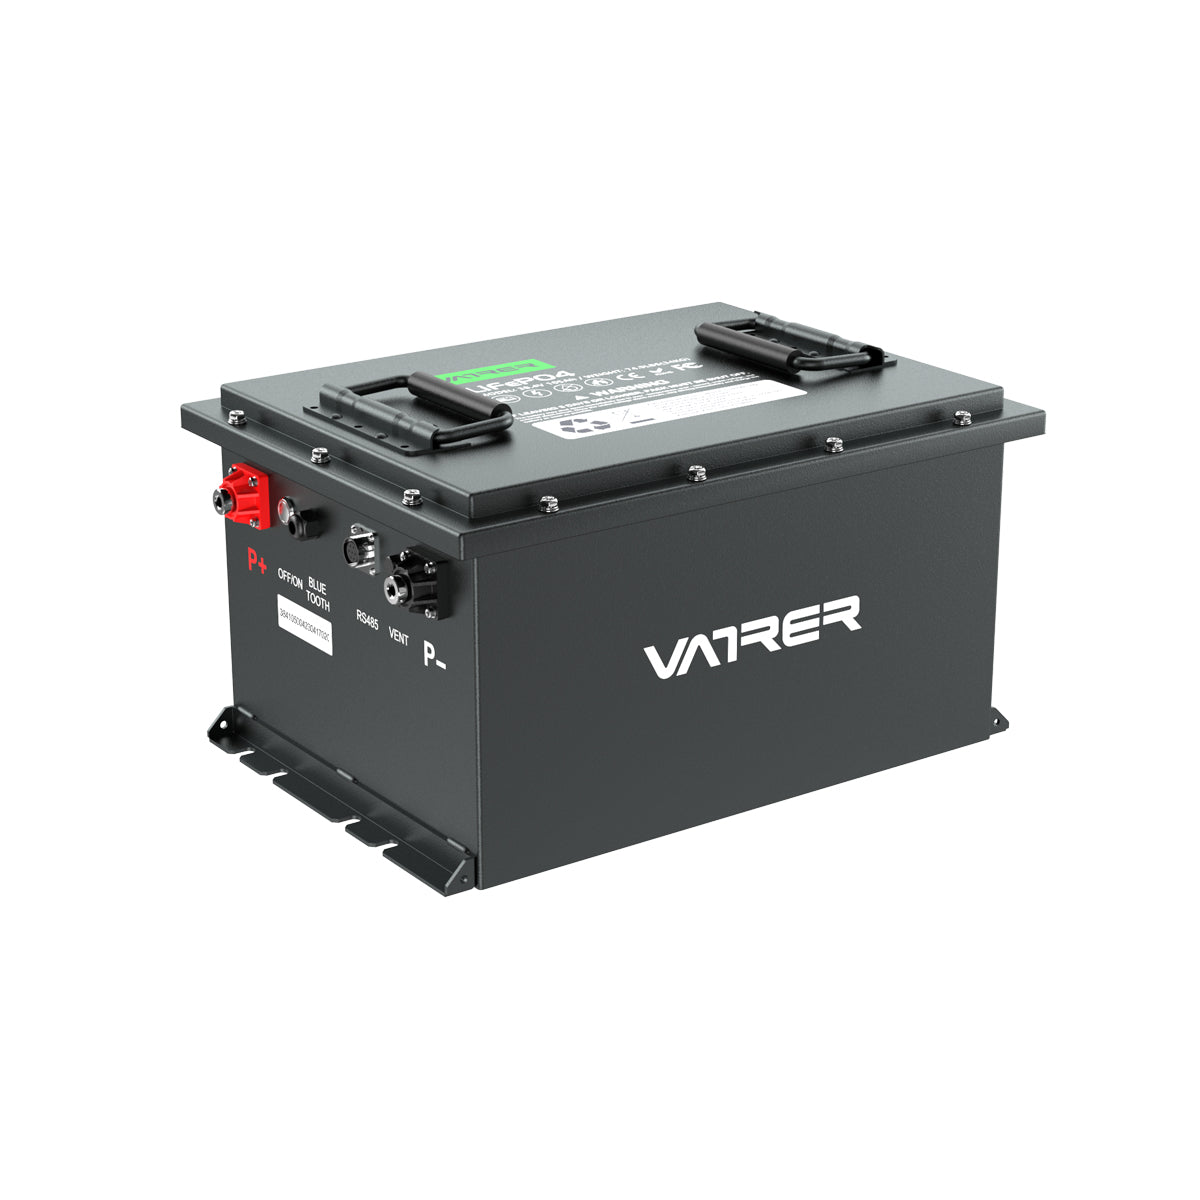
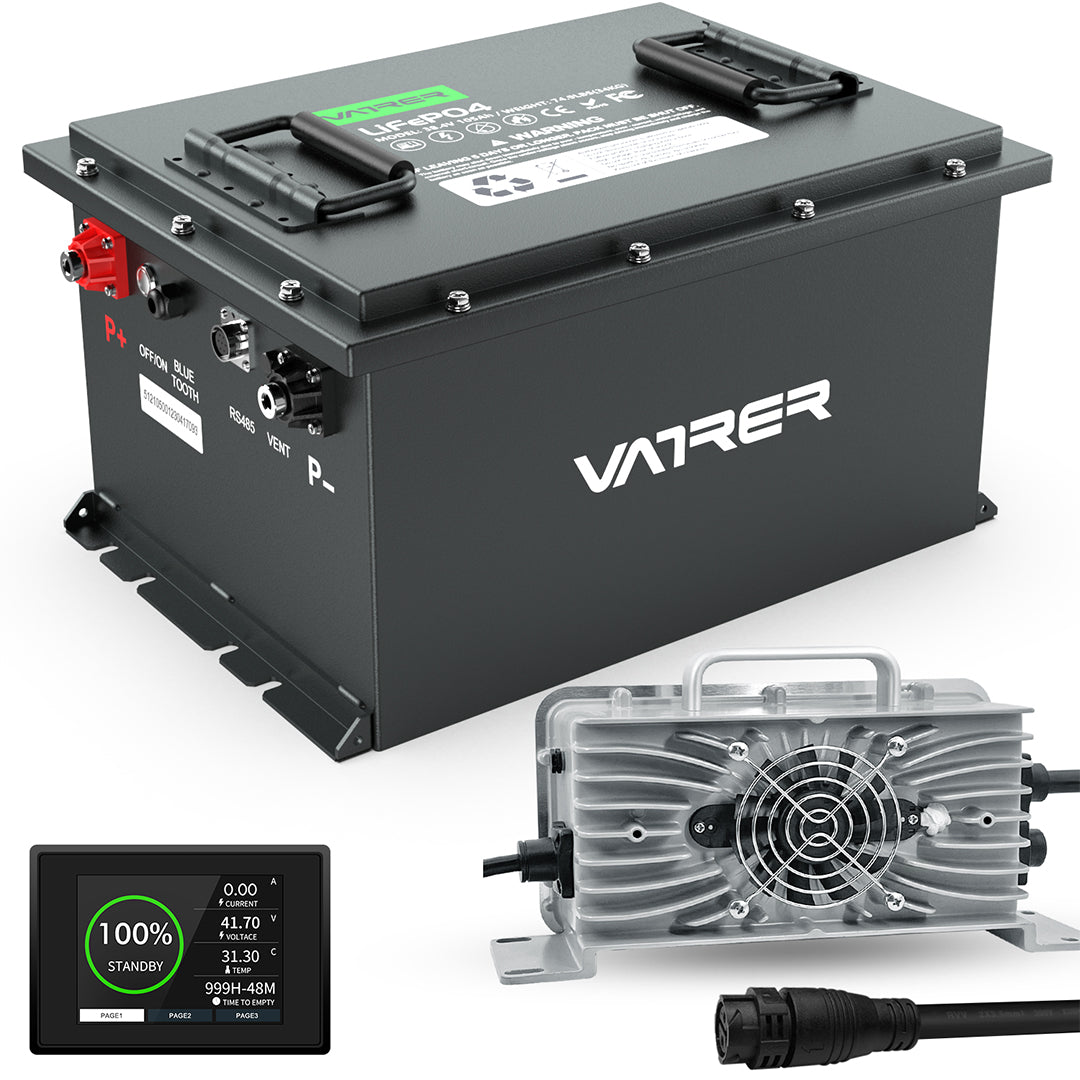
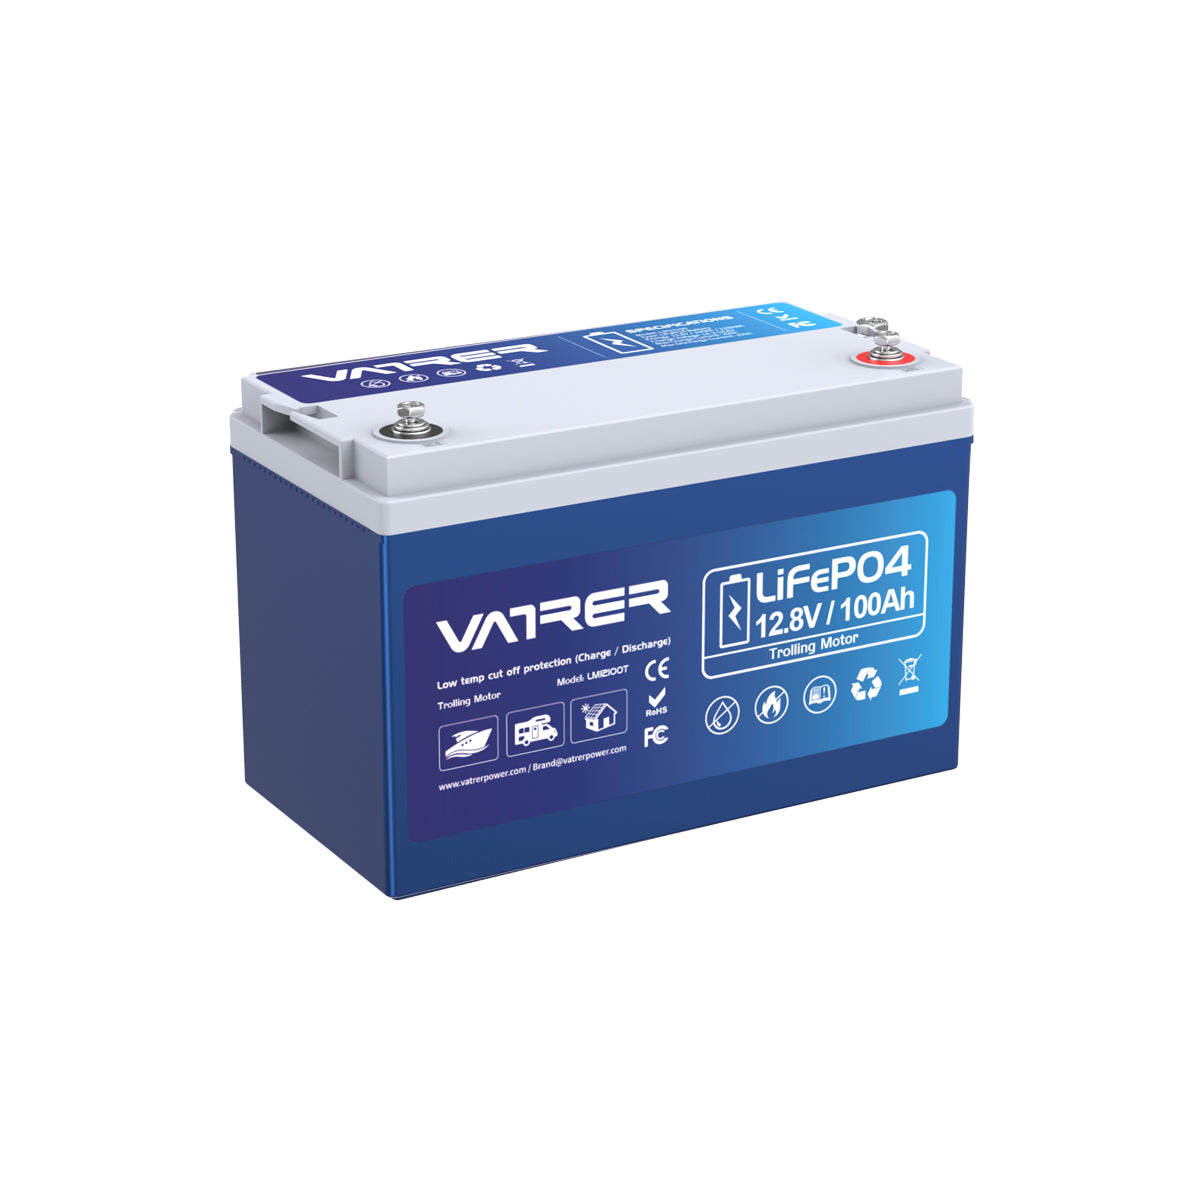
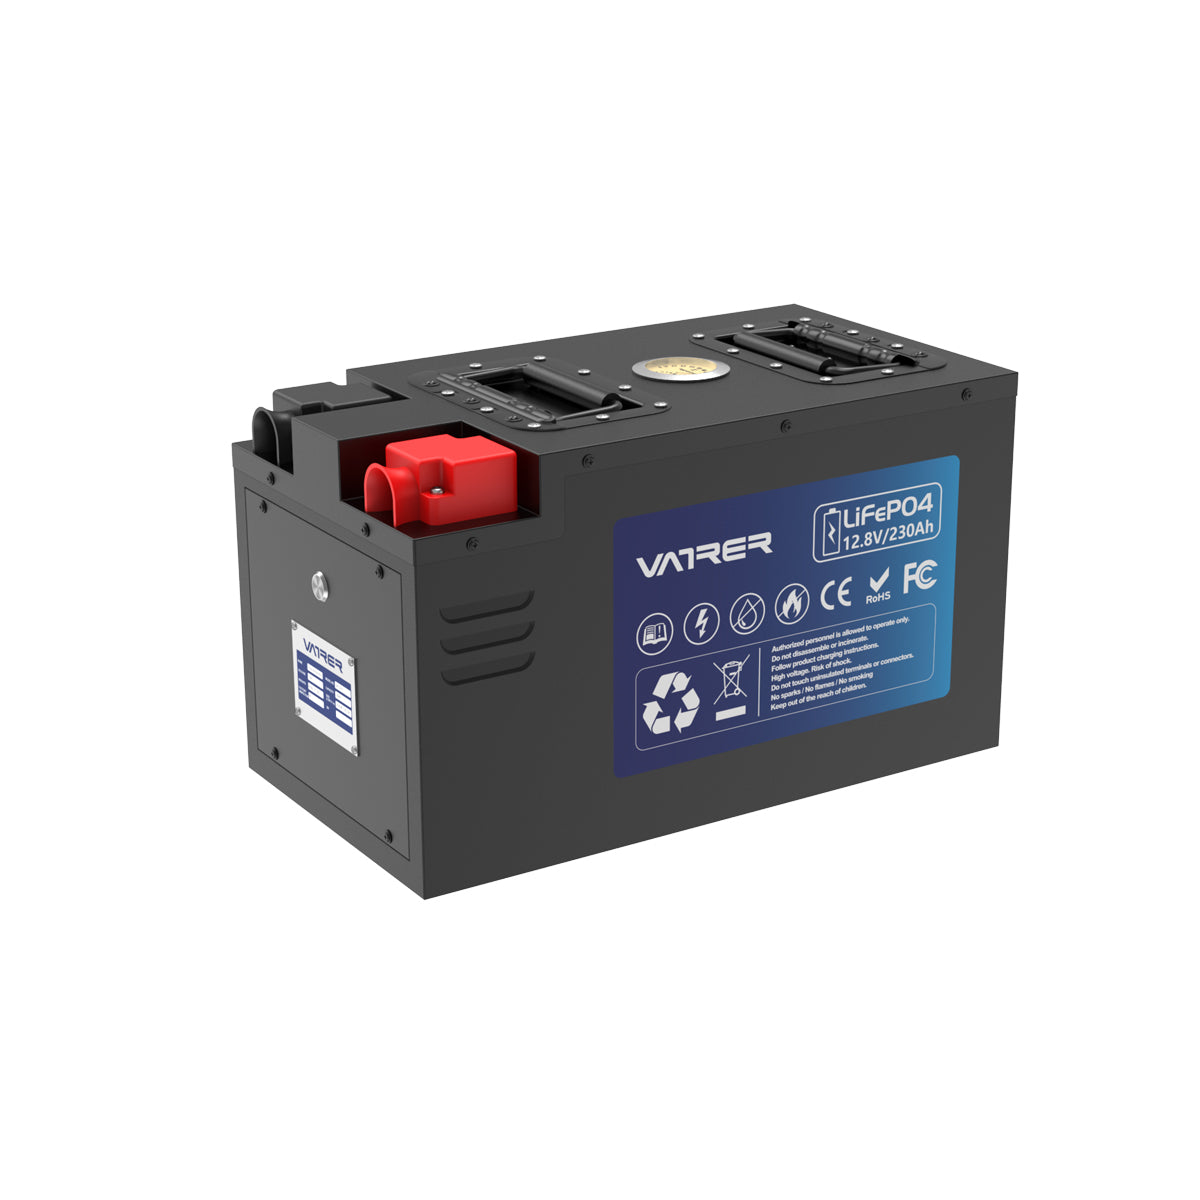
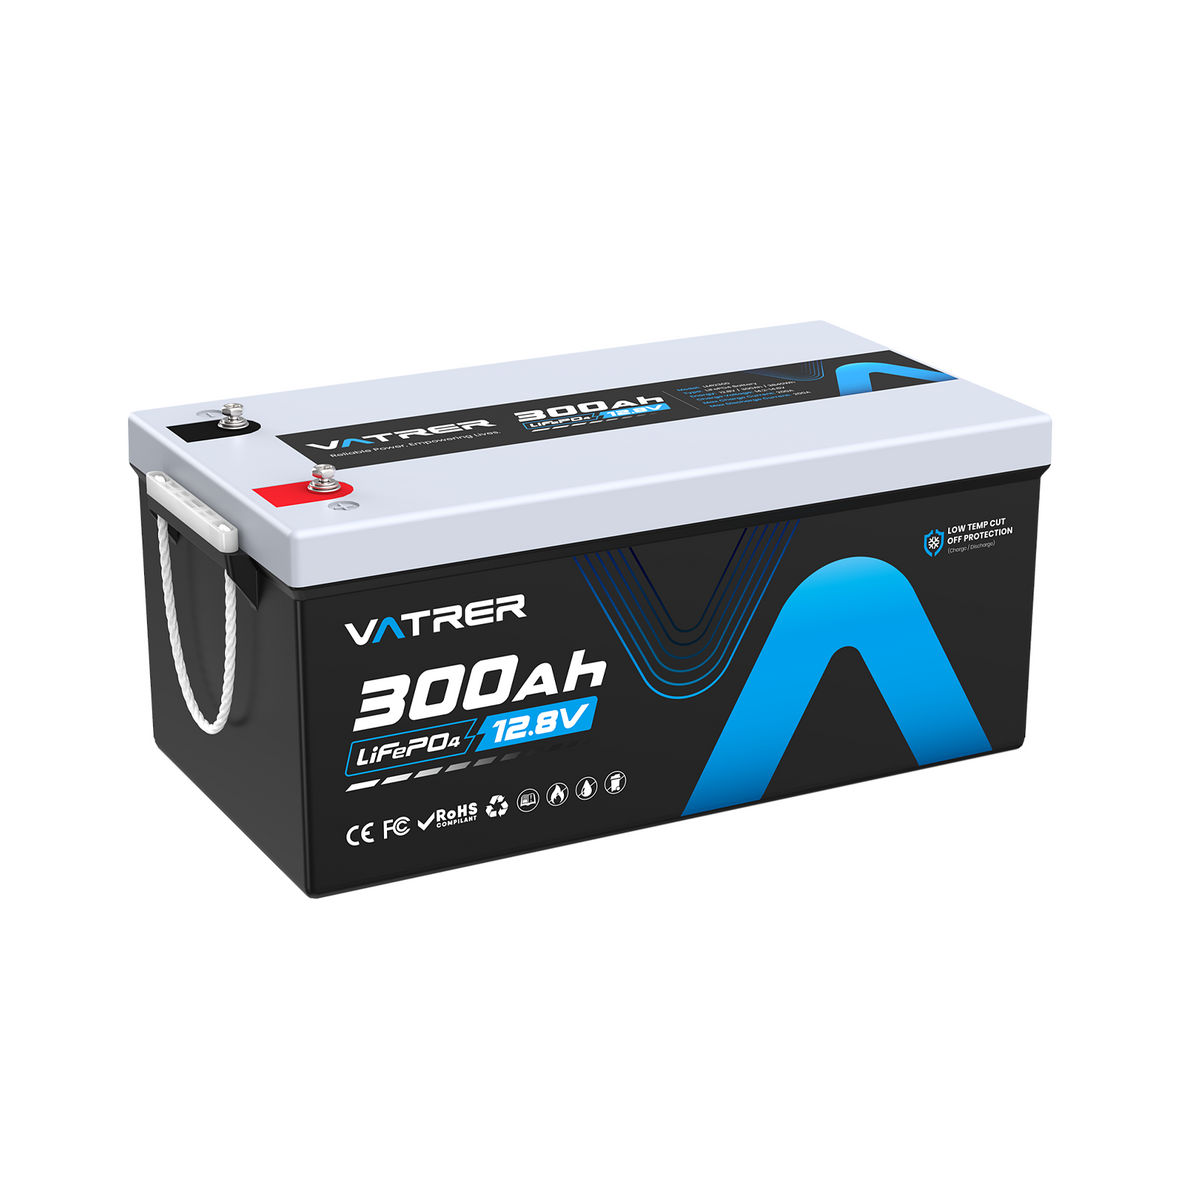
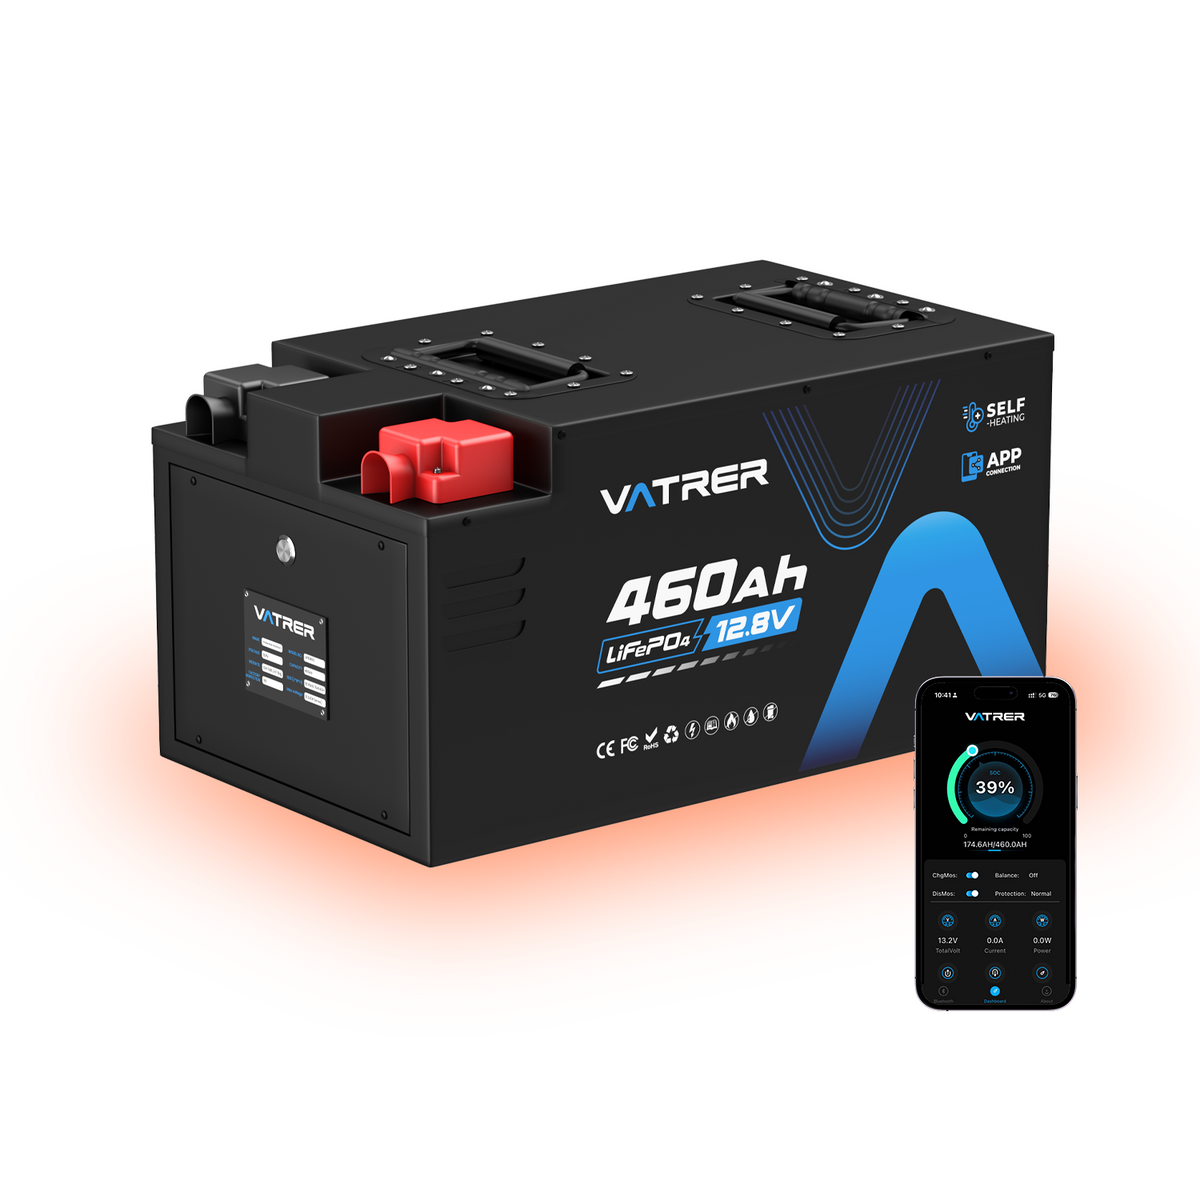
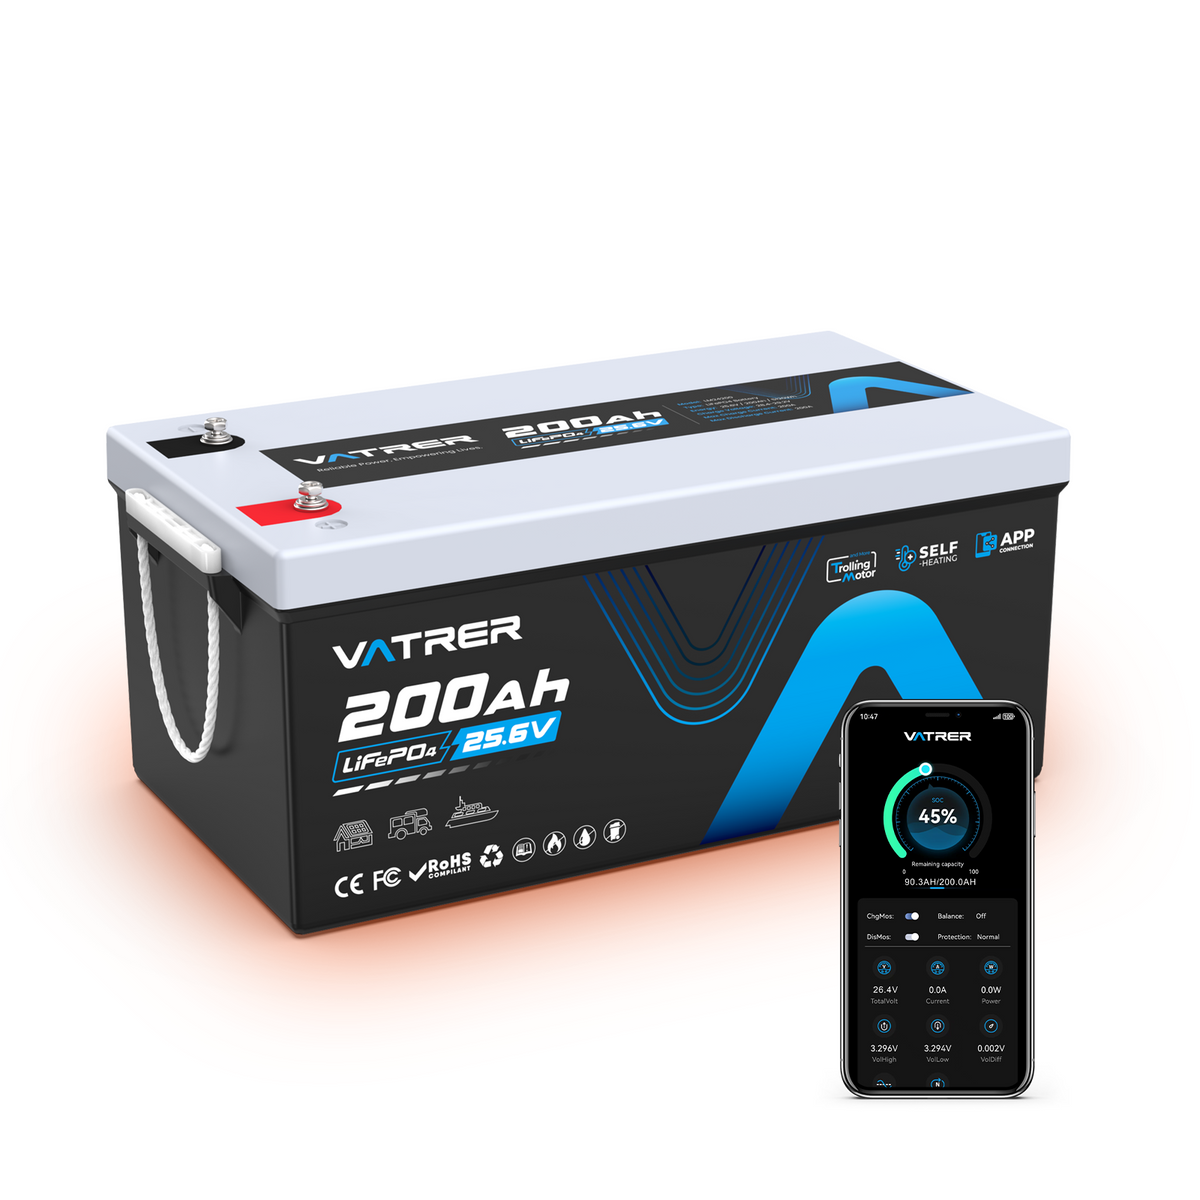
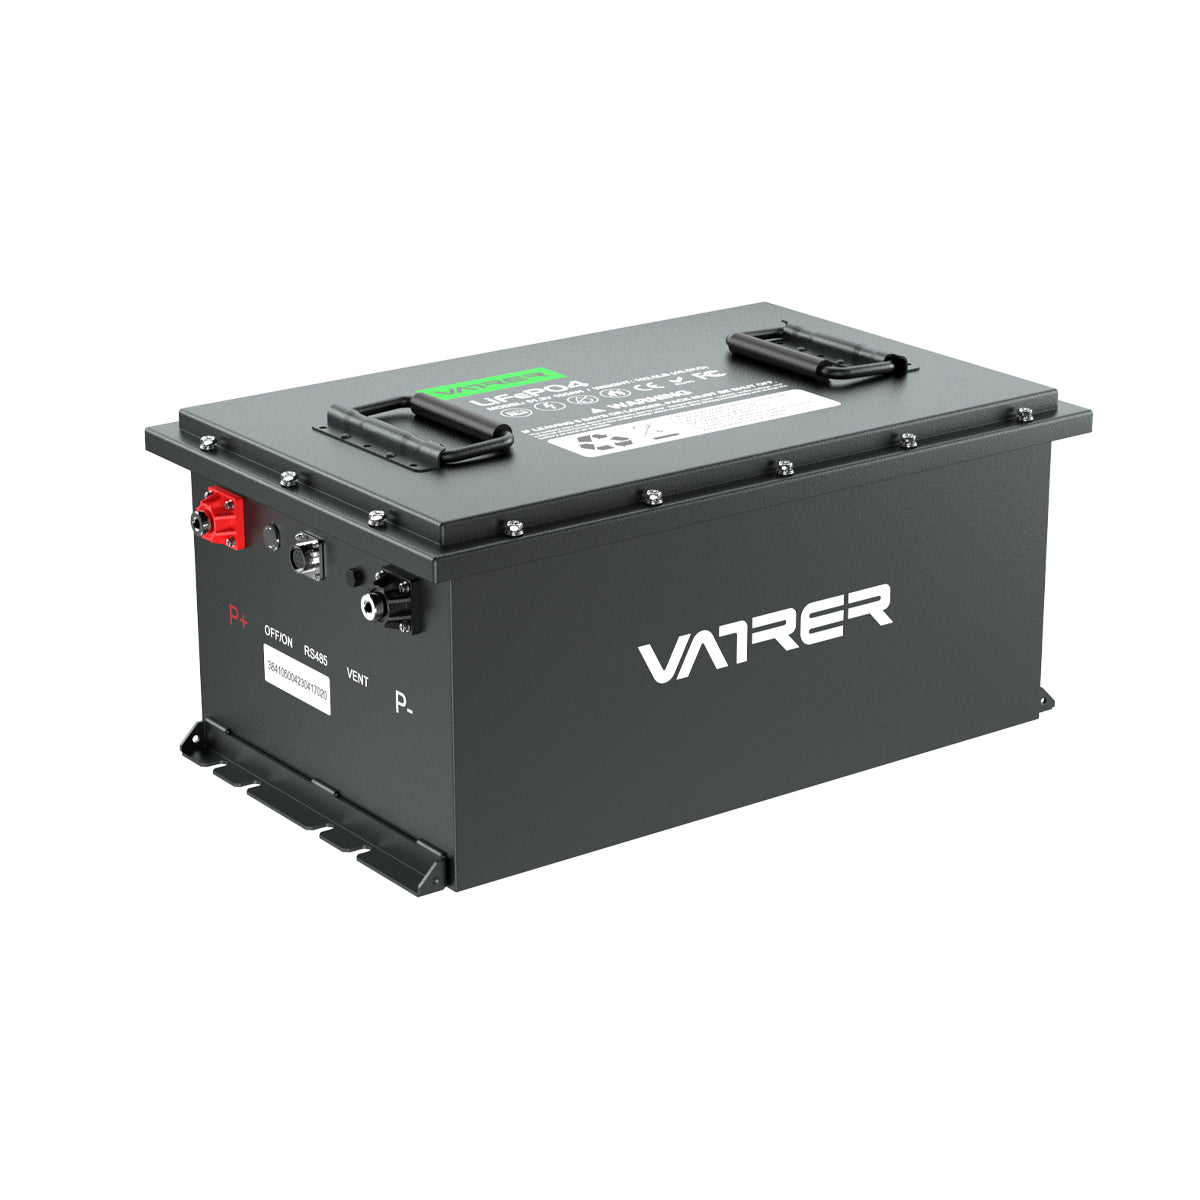
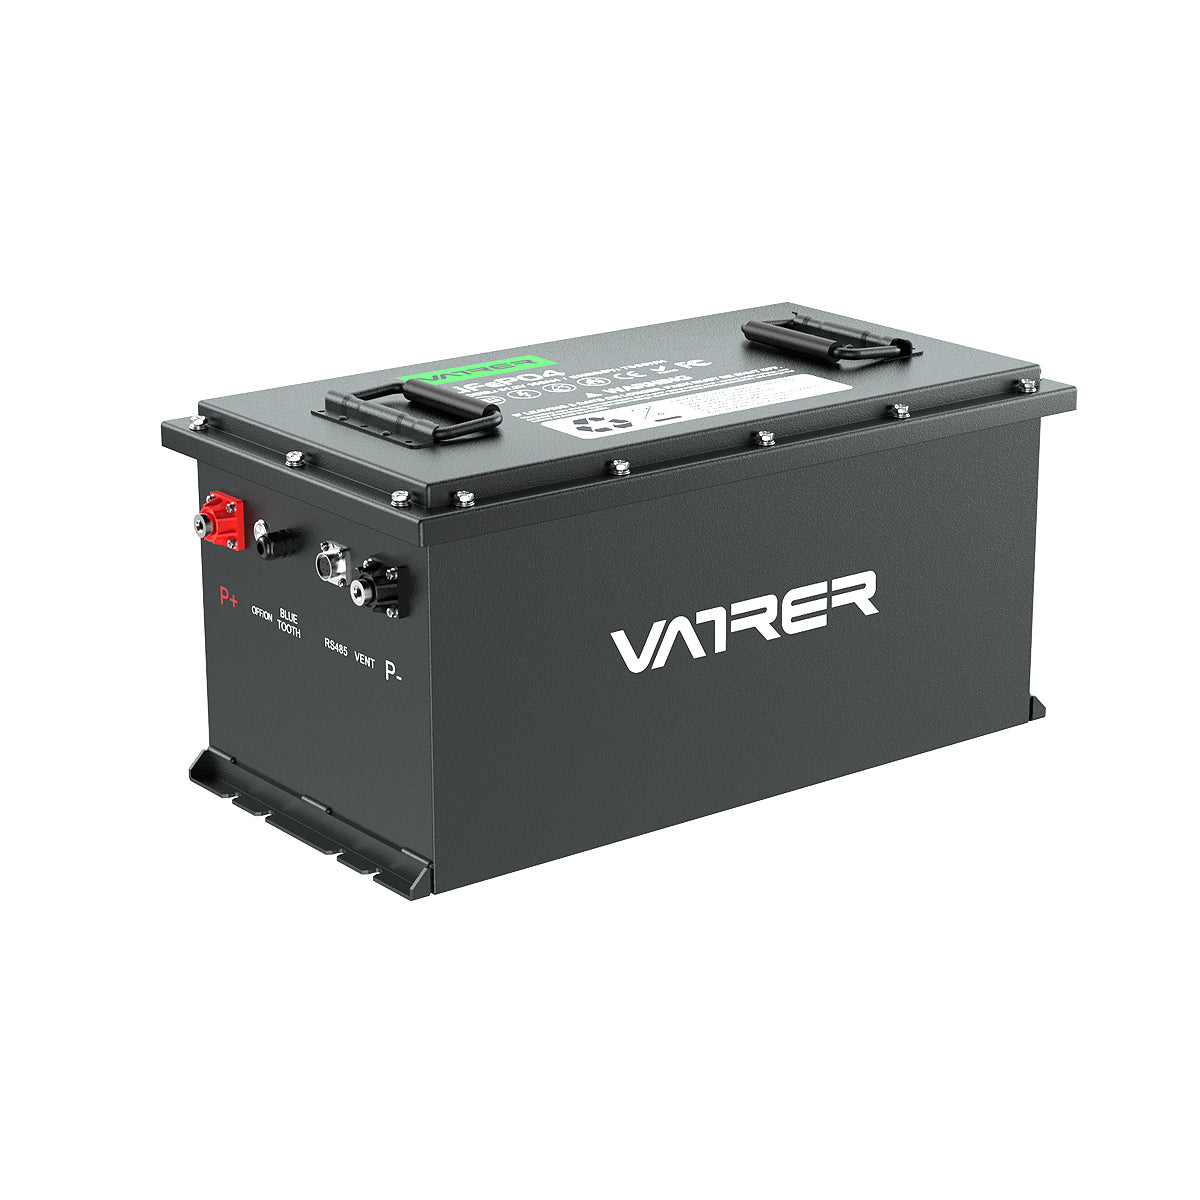
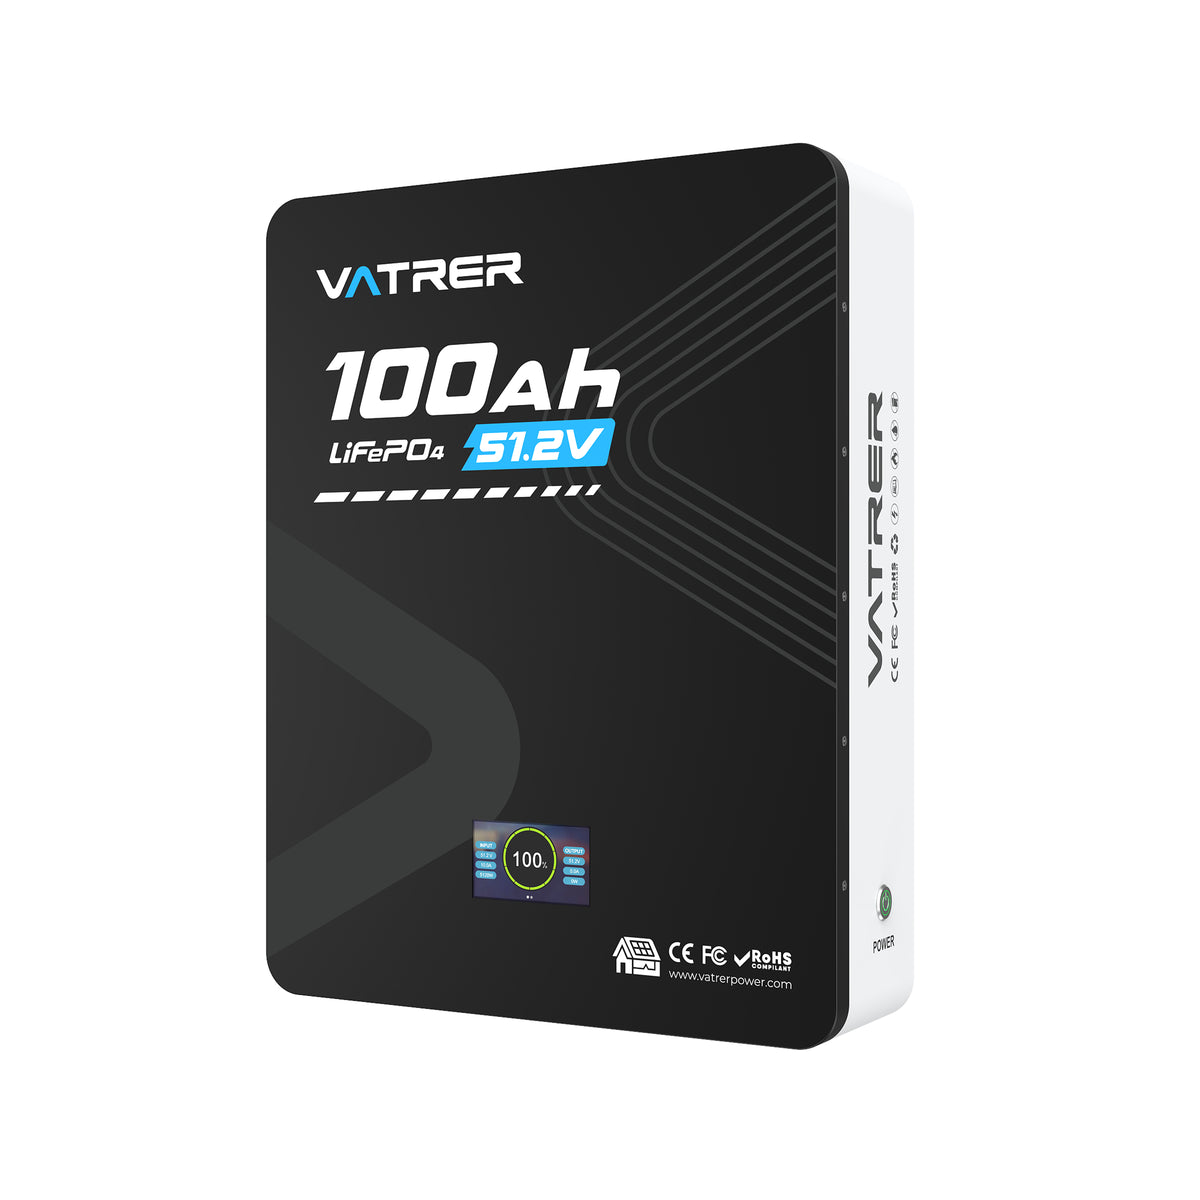
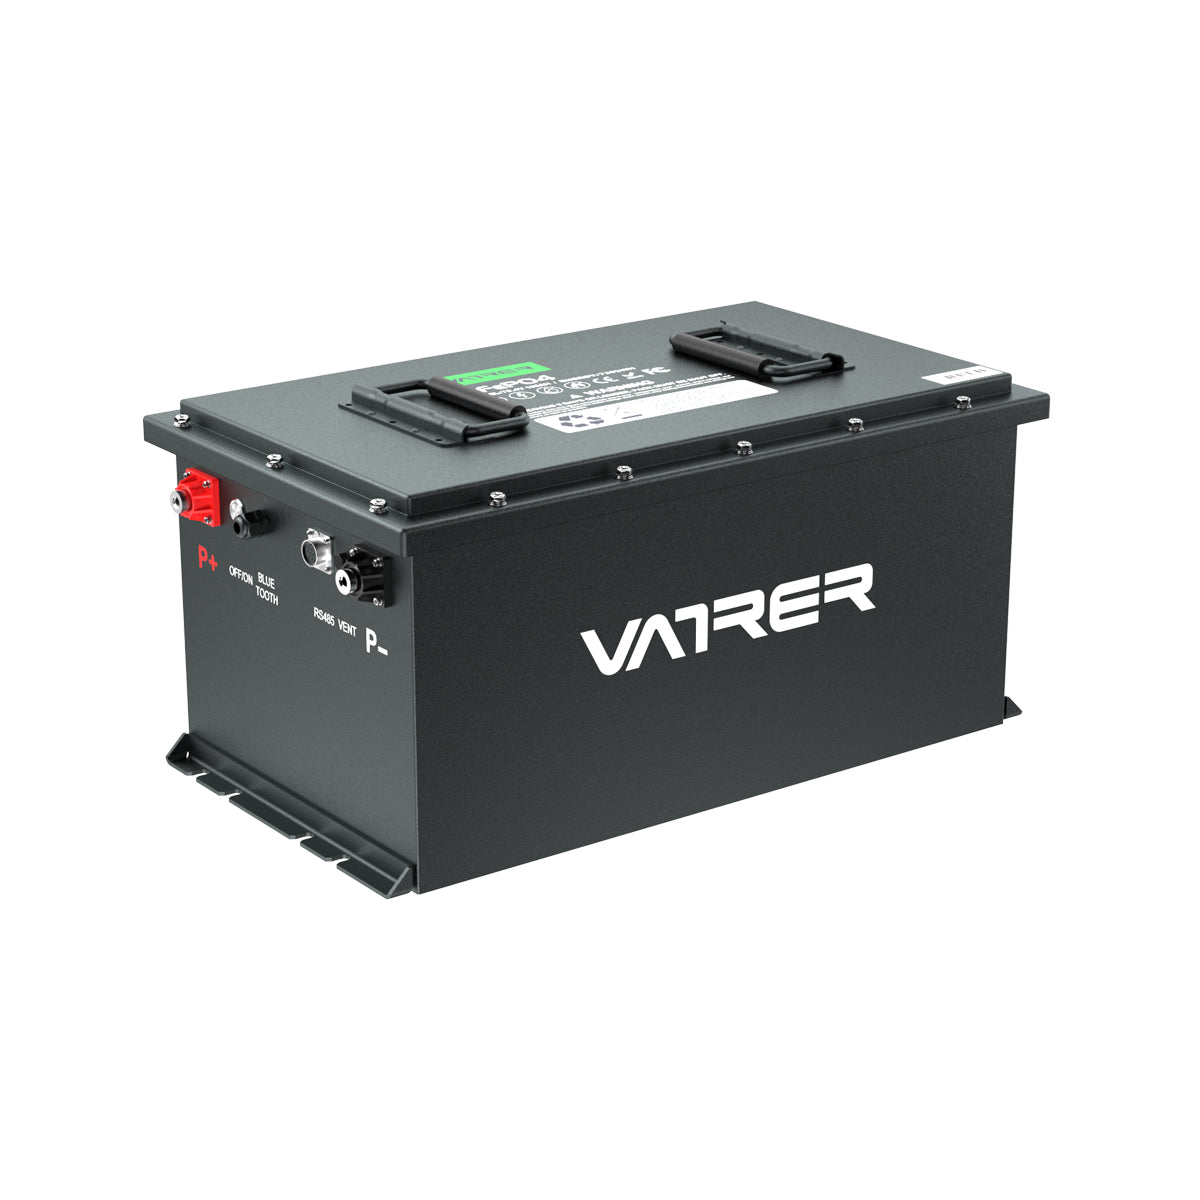
Lithium-Ion Batteries: These are becoming increasingly popular due to their lightweight, high energy density, and long lifespan. However, they are significantly more expensive than lead-acid options.
Basic Battery Maintenance
Proper maintenance of camper batteries is essential to maximize their lifespan and efficiency. Key maintenance tasks include:
-
Regular Inspection: Check for any signs of corrosion or damage on the battery terminals and cables.
-
Cleaning: Use a mixture of baking soda and water to clean any sulfation from the terminals.
-
Water Levels: For lead-acid batteries, ensure that the electrolyte levels are adequate, topping up with distilled water as necessary.
-
Charge Monitoring: Use a battery monitor to keep track of the charge level and health of the battery.
3. Charging Methods
Using the Vehicle's Alternator
How It Works
The alternator in your vehicle converts mechanical energy from the engine into electrical energy, which can be used to charge the camper battery. This is typically achieved by connecting the camper battery to the vehicle's electrical system.
Advantages and Limitations
-
Advantages: This method is straightforward and utilizes existing vehicle components, making it cost-effective. It is also automatic, requiring minimal intervention once set up.
-
Limitations: The alternator may not fully charge the camper battery, especially during short trips. Additionally, it can lead to overcharging if not properly regulated, potentially damaging the battery.
DC to DC Chargers
Installation and Benefits
A DC to DC charger is a more efficient way to charge your camper battery while driving. It regulates the voltage and current from the alternator, ensuring optimal charging conditions.
-
Installation: The charger should be installed close to the camper battery to minimize voltage drop. It requires a connection to both the vehicle's battery and the camper battery.
-
Benefits: DC to DC chargers provide a more consistent charge, protect against overcharging, and can charge batteries to a higher state of charge compared to direct alternator charging.
Comparison with Alternator Charging
While alternator charging is simpler, DC to DC chargers offer superior performance and battery health management. They are particularly beneficial for modern vehicles with smart alternators that may not provide a consistent output.
7-Pin Trailer Connection
Setup and Functionality
The 7-pin trailer connection is a common method for charging camper batteries while towing. It provides a direct electrical link between the tow vehicle and the camper.
-
Setup: Ensure that the 7-pin connector is properly wired and that the vehicle's electrical system is configured to supply power to the camper battery.
-
Functionality: This method allows for simultaneous charging of the camper battery and operation of trailer lights and brakes.
Pros and Cons
-
Pros: It is a convenient and integrated solution for those towing a camper.
-
Cons: The charging rate may be limited, and it may not be suitable for larger battery banks or high-power demands.
4. Additional Charging Options
Solar Panel Integration
Solar panels can be an excellent supplementary charging option, especially for those who spend extended periods off-grid. They provide a renewable energy source that can keep your battery topped up during daylight hours.
Generator Use
A portable generator can be used to charge the camper battery when stationary. While effective, generators can be noisy and require fuel, making them less ideal for eco-conscious campers.
Shore Power Connections
When available, shore power connections at campsites provide a reliable and fast way to charge camper batteries. This method requires an appropriate converter or battery charger to convert AC power to DC.
5. Safety Considerations
Handling Batteries Safely
-
Protective Gear: Always wear gloves and eye protection when handling batteries to prevent acid burns.
-
Ventilation: Ensure the area is well-ventilated to avoid inhaling harmful fumes.
Preventing Electrical Hazards
-
Proper Wiring: Use appropriate gauge wires and secure all connections to prevent short circuits.
-
Surge Protection: Install a surge protector to safeguard against voltage spikes.
6. Conclusion
In conclusion, charging a camper battery while driving is a practical solution for maintaining power on the go. By understanding the different methods available—such as using the vehicle's alternator, DC to DC chargers, and 7-pin trailer connections—you can choose the best option for your needs. Additionally, integrating solar panels or using shore power can provide supplementary charging options. Always prioritize safety and proper maintenance to ensure your camper battery remains in optimal condition. With these best practices, you can enjoy your travels with confidence, knowing your power needs are well-managed.


