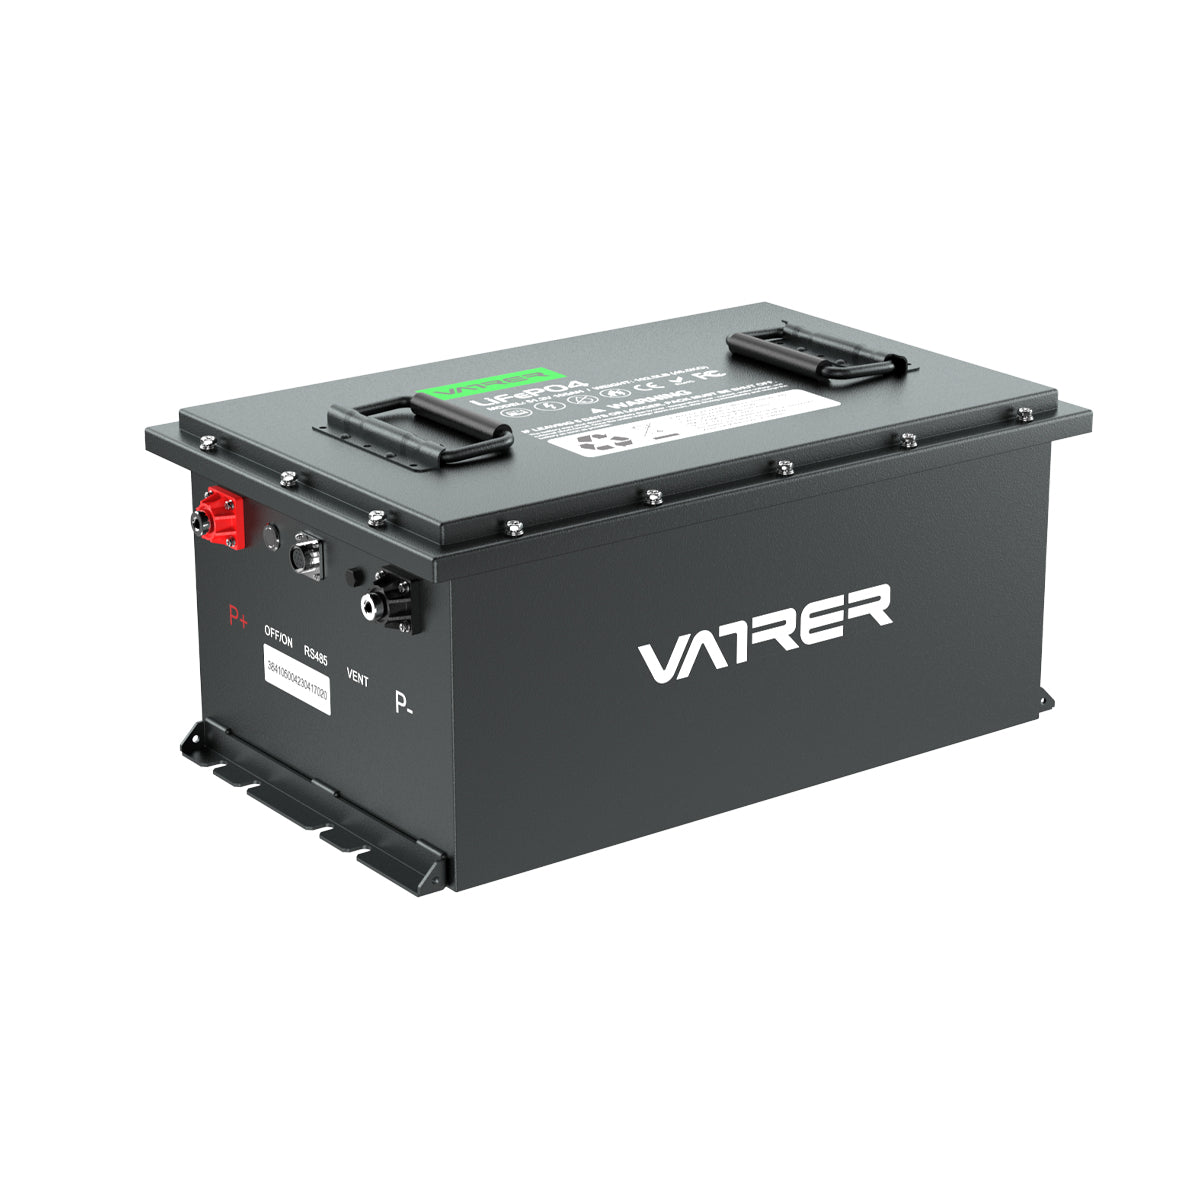
If you rely on a golf cart for daily activities within a community or for navigating the links, understanding the health of your golf cart's battery is essential. An 8-volt battery that is beginning to fail can significantly hinder the performance of your cart. Below, we will explore the signs of a failing battery, how to test it, and provide tips for maintaining the longevity of your golf cart batteries.

Recognizing the Signs of a Failing Battery
-
Decreased Performance: If your golf cart is noticeably slower or has difficulty handling hills or heavier loads, this could be a sign that your batteries are not delivering the necessary power.
-
Reduced Range: A clear indicator of battery issues is a decrease in the distance you can travel on a single charge. If you find yourself needing to recharge more frequently, your battery’s capacity may be diminishing.
-
Physical Damage: Regular inspections of your battery can reveal physical signs of wear or damage, such as swelling, cracks, or leaks. These are serious issues that indicate a need for immediate replacement to avoid further damage or potential safety hazards.
-
Corrosion: Corrosion on the terminals can impede the flow of electricity, reducing efficiency. If you notice a white, ashy build-up on the battery terminals, it’s time to clean them or possibly look into replacing the battery if the damage is extensive.
-
Battery Age: The lifespan of a typical golf cart battery ranges from about 4 to 6 years. If your battery is approaching or has surpassed this age range, it's wise to monitor it closely and consider replacement.
Testing Your Battery
To verify your suspicions of a failing battery, you can perform or request a few tests:
-
Voltage Test: Use a multimeter to check the voltage of each battery. Fully charged 8-volt batteries should read around 8.4 to 8.6 volts. Readings significantly lower than 8 volts often indicate a problem.
-
Load Test: This test measures the battery’s ability to hold a charge under a simulated load and is best done by a professional.
-
Hydrometer Test: For those with flooded lead-acid batteries, a hydrometer can measure the specific gravity of the battery’s electrolyte. Values significantly lower than 1.275 might suggest a charging issue or a failing battery.
Maintaining Your Battery
Enhancing the lifespan of your golf cart batteries can be achieved with simple maintenance routines:
-
Regular Charging: Always keep your batteries charged; never allow them to fully deplete. Charge your batteries after every substantial use.
-
Water Levels: Check and maintain the water levels in each battery cell regularly. Use only distilled water to avoid contaminants.
-
Terminal Maintenance: Keep the battery terminals clean and free from corrosion. Regularly clean with a solution of baking soda and water and protect with anti-corrosion gel.
-
Equalizing Charge: If your charger supports it, regularly performing an equalizing charge can help balance the charge across the battery cells, extending their life.
Understanding how to spot the signs of a failing 8-volt golf cart battery and knowing how to test and maintain them can save you from unexpected breakdowns and costly replacements. Regular maintenance not only extends the life of your batteries but also ensures that your golf cart is always ready for use, whether you’re playing 18 holes or cruising around your community.


![[Buying Guide] Should I Buy Lithium Batteries on Black Friday?](http://www.vatrerpower.com/cdn/shop/articles/Should-I-Buy-Lithium-Batteries-on-Black-Friday.webp?v=1731467571&width=500)


